Robert Jett
Building a Webflow Component Library with Webflow
A template-built component library represents a unique online business opportunity. It not only utilizes Webflow components, but also provides these tools to users. When considering the creation of your own component library, understanding your audience and their needs are crucial. This endeavor requires a comprehensive understanding of Webflow's current use cases and identifying gaps that your library could fill. It's an excellent strategy for agencies or businesses within the Webflow ecosystem to build their audience.

Before the Build: Identifying Niches
Generalizing Niches into Components
Identifying niches within the Webflow community involves understanding specific needs and preferences. For instance, e-commerce sites, portfolio websites, and blogs each require different components. By analyzing these needs, you can generalize them into a set of components tailored to each specialization.
Logic for Component Generation
To generate a component list, consider:
- Functionality Needs: What features are most requested and/or missing in current offerings?
- Design Trends: Are there emerging design trends that haven't been widely incorporated into existing components?
- User Feedback: What are common requests or pain points from the Webflow community?
Examples of Webflow Component Libraries
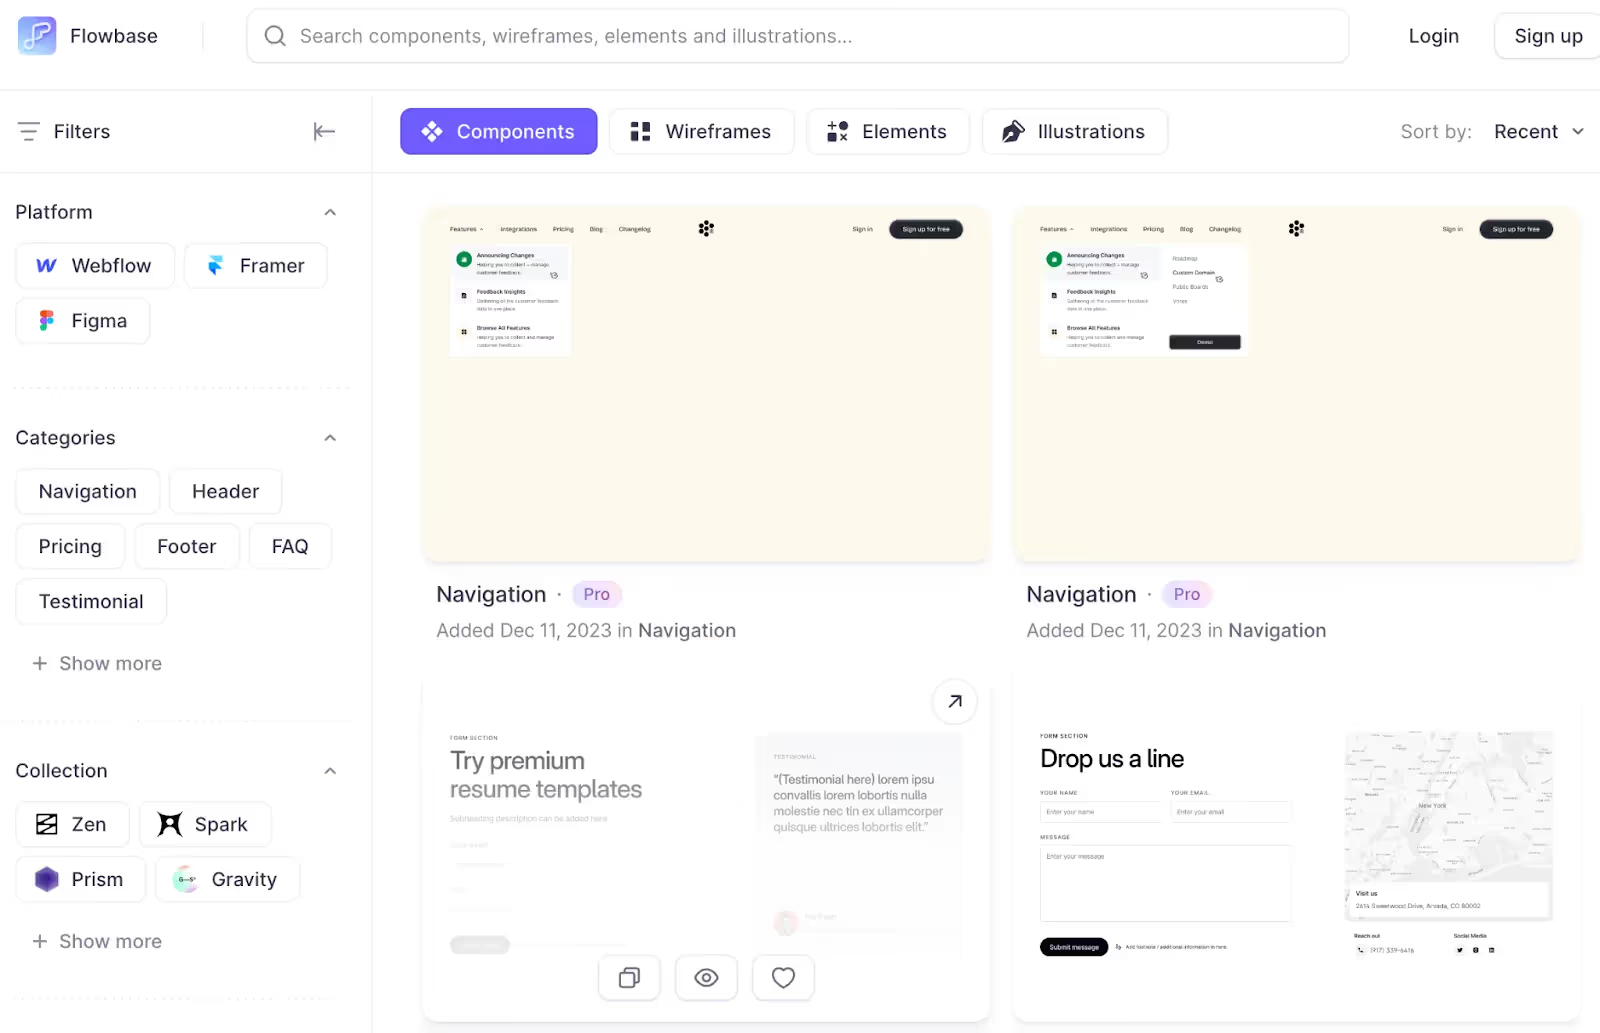
- Flowbase: Offers a wide range of templates and components, from basic structures to complex integrations.

- Untitled UI: Known for its sleek and modern UI components that cater to contemporary design needs.
Choosing a Platform
While building Webflow components, it's natural to use Webflow as the platform. Integrating with Memberstack facilitates the management of both free and paid access to these components.
Building a Webflow Component Library with Webflow: Starting with a Template
We have developed two highly customizable templates for your component library.
Setting Up Webflow with a Template
- Webflow Component Library Template: Includes essential components and a video tutorial.

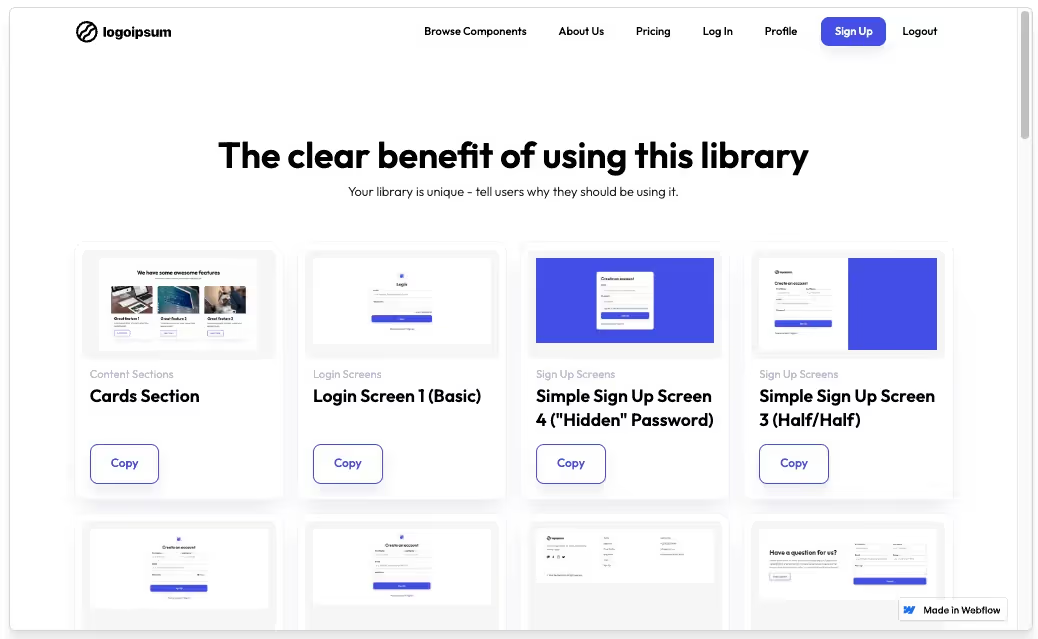
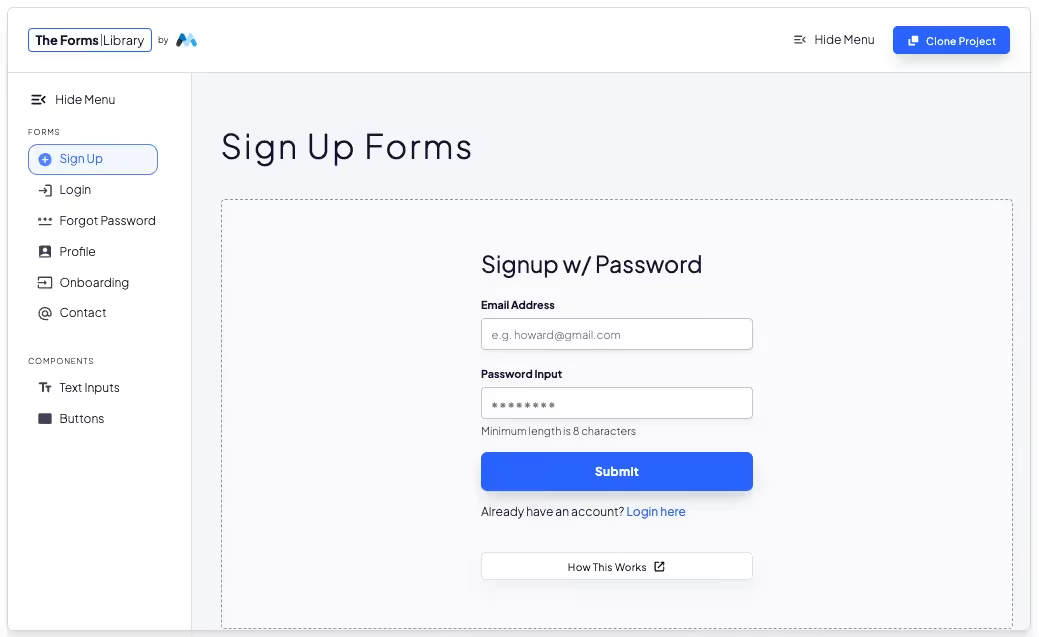
- Webflow Library: A more general template adaptable to various strategies, featuring components like Sign-In screens.

Uploading Components
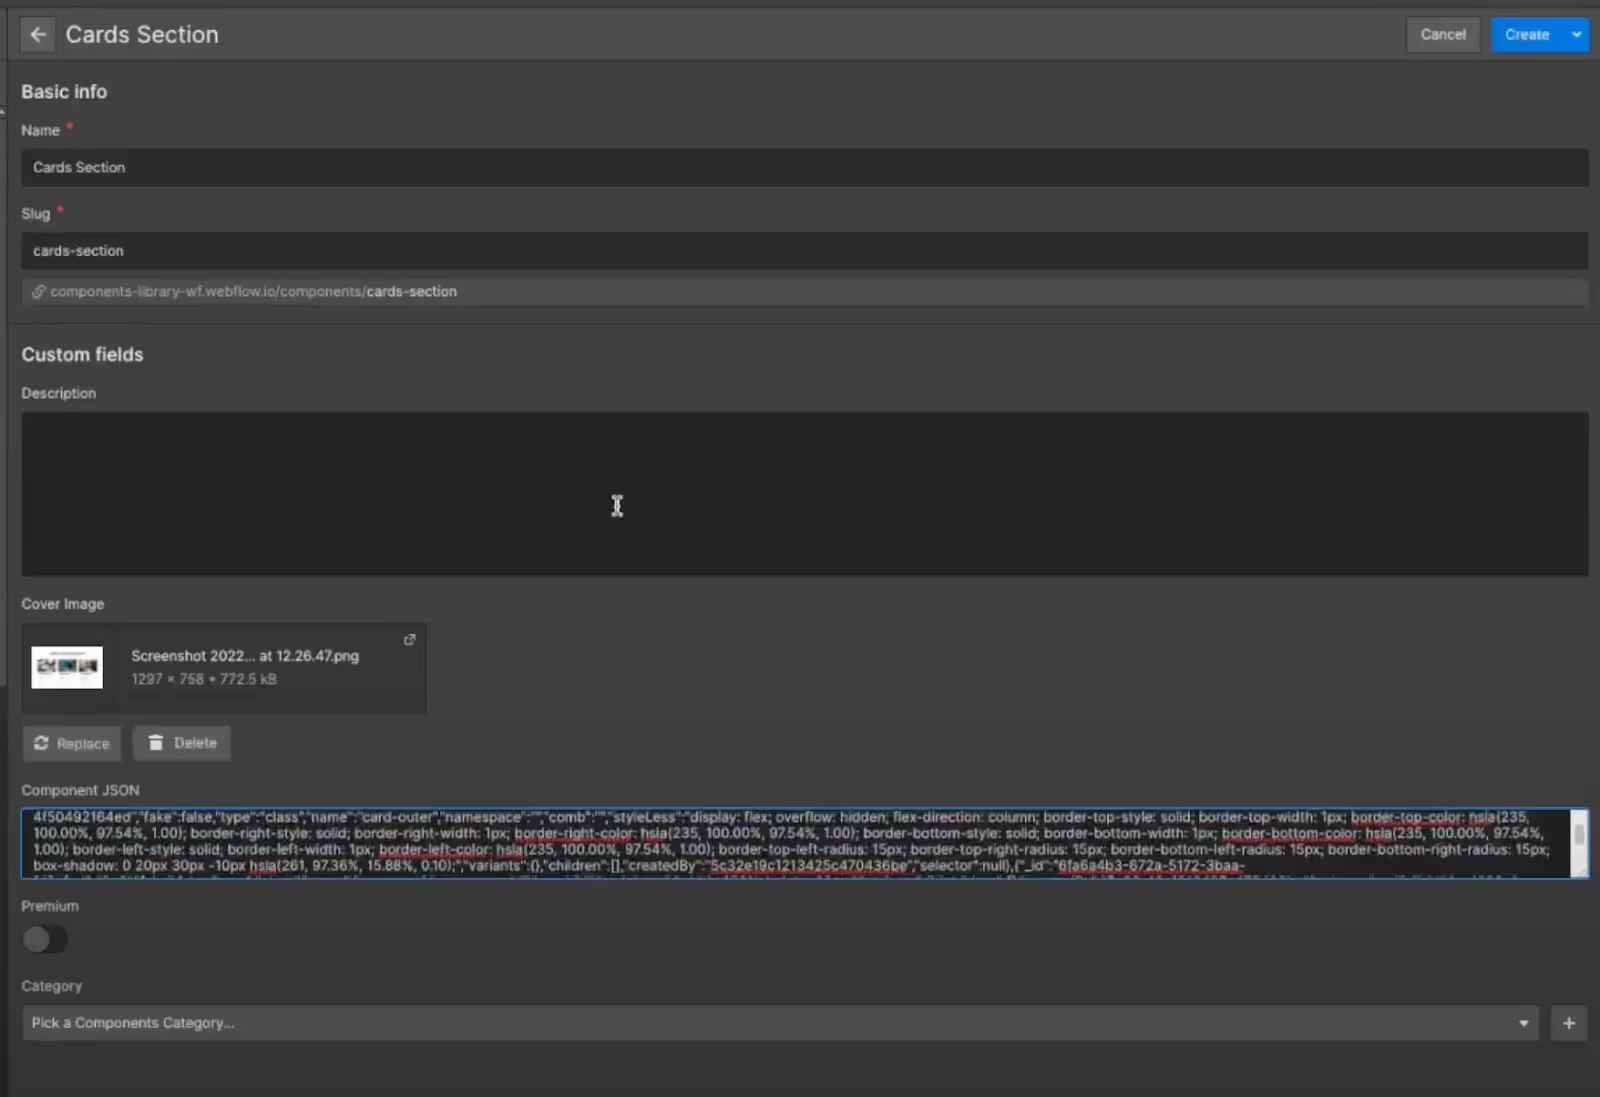
Our YouTube tutorial demonstrates how to upload components to your library. The process involves capturing a component's data, converting it to JSON format, and then uploading it to your Webflow project with all necessary details.
More specifically, here are the steps you’ll need to follow:
- Open your component library, wherever you’re getting your components from, and a Clipboard Inspector (we use this one in our tutorial).
- Take a screenshot of the component you want to upload.
- Paste it into the Clipboard Inspector. Copy the JSON code that it creates.
- Create a new component in the CMS collection. Grab the screenshot and the component JSON and paste it into the respective fields.
- Place it into a category on your site.
- Create your component!
You can check out the tutorial here:
Features
This template features everything you might need to get your component site up and running. Of course, everything is customizable to your needs, and the design of the site can be tailored to your existing branding or style. The included features are:
- Home Page: The first interaction point for users.
- Stylesheet: Ensures consistent design across components.
- Authentication Pages: Includes Sign Up, Sign In, and Forgot Password pages.
- Profile Page: Personalized space for users.
- Pricing Page: Details the cost of components and/or membership.
- Components Dashboard: A central place to manage and access components.
- CMS Collections: For organizing Component Categories and the Components themselves, along with template pages for each.

Paywall Concept
efficiently using Memberstack's integration with Stripe, as detailed in this guide.

Once you’ve connected your site, you can assign the download links (or CMS access) for each of the components behind your membership tiers, thus gating who is able to access them.
Summary
Creating a Webflow component library is an innovative way to cater to the specific needs of different Webflow users. By using our templates and understanding the nuances of the target audience, you can build a comprehensive library that not only enhances your business profile but also provides valuable resources to the Webflow community. Integrating Memberstack for user management and payment processing further streamlines this process, making it an exciting and potentially profitable venture.
Add memberships to your Webflow project in minutes.
Over 200 free cloneable Webflow components. No sign up needed.
Add memberships to your React project in minutes.

.webp)


.png)