

Robert Jett
Building the MVP of my Productized Service Business with Webflow
This is post 2 of my Productized Service Business series, if you missed part 1 you can check it out here. The last couple of days have been interesting because so many of my ideas in the last blog have changed or expanded. I suppose that comes with the territory – but I can say I’m much more confident about what I plan to do next.

Major Update
I think the biggest transformation involves the specific productized services I plan to use. After doing some more research, I realized that the clearest, lowest-effort opportunity right now is in AI adoption. I hate to follow a trend, but the potential to onboard people to the ever-changing array of AI-powered software on the internet presents an almost irresistible opportunity for cash flow positivity (and is an idea I’d recommend you copy).
I found a website called theresanaiforthat.com, which lists thousands of AI-powered tools. I’m still going to use my pre-validation system to find service offerings, but now I plan to design products that integrate AI tools in novel and interesting ways. I’m sure this idea will change again, but I think I’m heading in a much better direction now.
The Plan
I ended the last blog with a link to the MVBP. It ended with a list of things I thought I’d need to do before getting this business ready for marketing. That list was (with some modifications):
- Build site template (accounts, dashboards, automations)
- Create the brand guidelines
- Customize website design based on the brand guidelines
- Create a service marketplace page
- Create a service collection page
- Figure out how to let clients buy individual services and add them to account
- Come up with pricing v1
- Launch!
- Market!
This blog is going to be about the first step (getting the skeleton together) – and the rest will be discussed in later blogs.
The Template; Landing Page, Special Projects, Client and Admin Dashboards, Logins, Payments
As I mentioned before, one of the main reasons I was interested in using this template was the ease of setup and the ability to get the site up and running quickly. After setting everything up, I can confirm that I am weeks ahead of where I would have been had I not done this – if not simply because the custom code would have been a nightmare for me to figure out on my own.
Here is what that setup looked like:
Buying the Template
The signup/purchase flow was very simple. I purchased the template for $56 dollars because I already had a Memberstack subscription (no… I did not get the template for free to write these blogs). After paying, I was sent a video explaining that I’d be getting a site transfer request and some other stuff shortly.

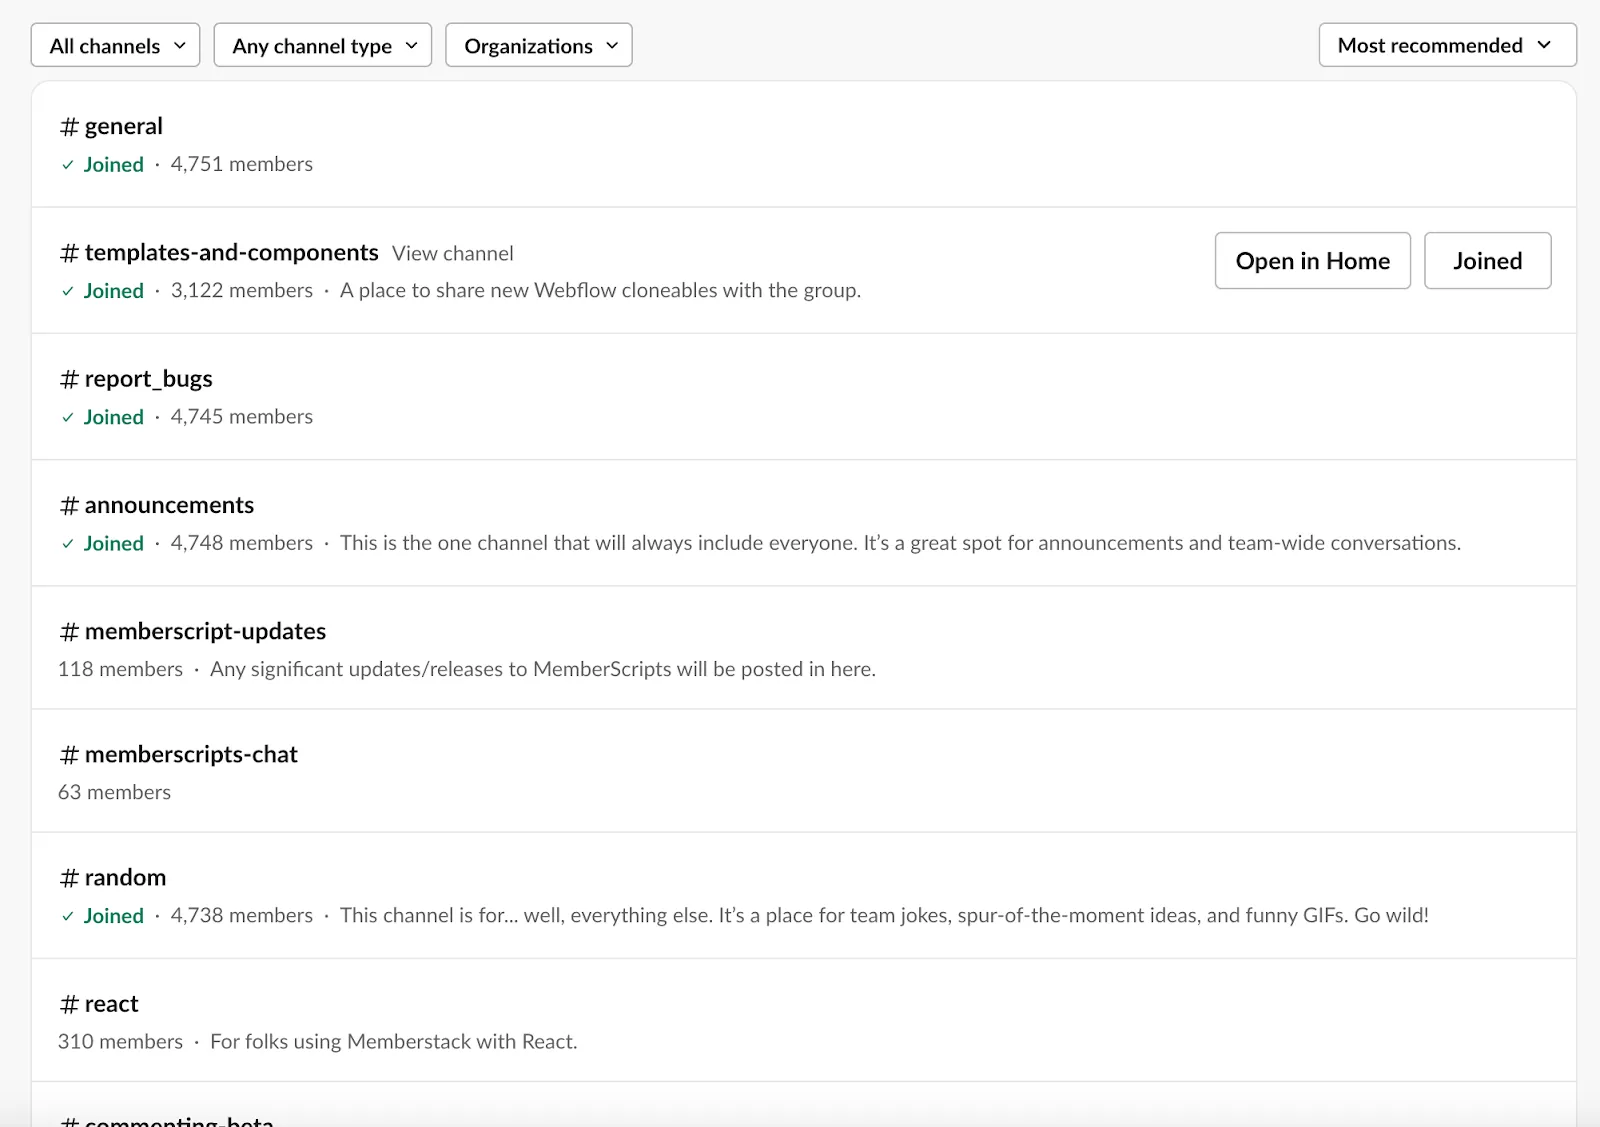
I also got a link to this Memberstack 2.0 Slack with a couple thousand members and a few topic-specific channels. I got added to a channel specifically for people using the Productized Service template which should make troubleshooting/learning from other people with the template easier.
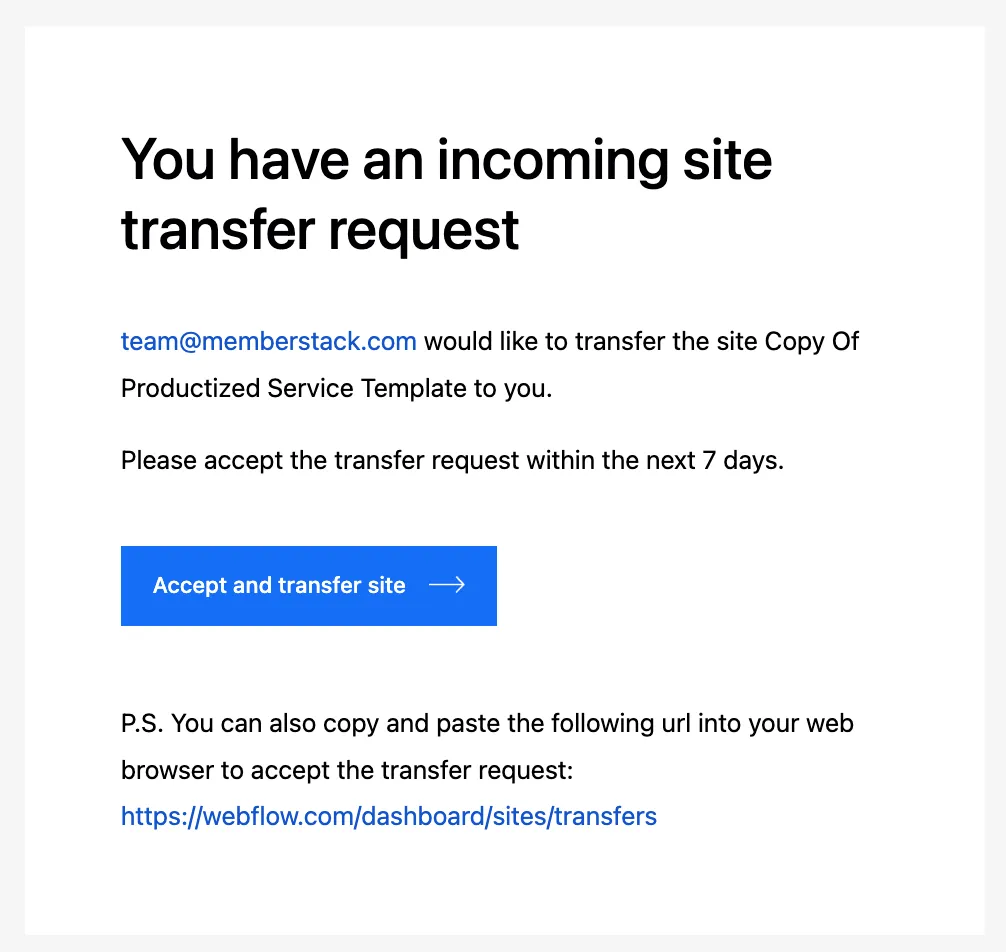
A few hours later, I got this email – and access to the template!
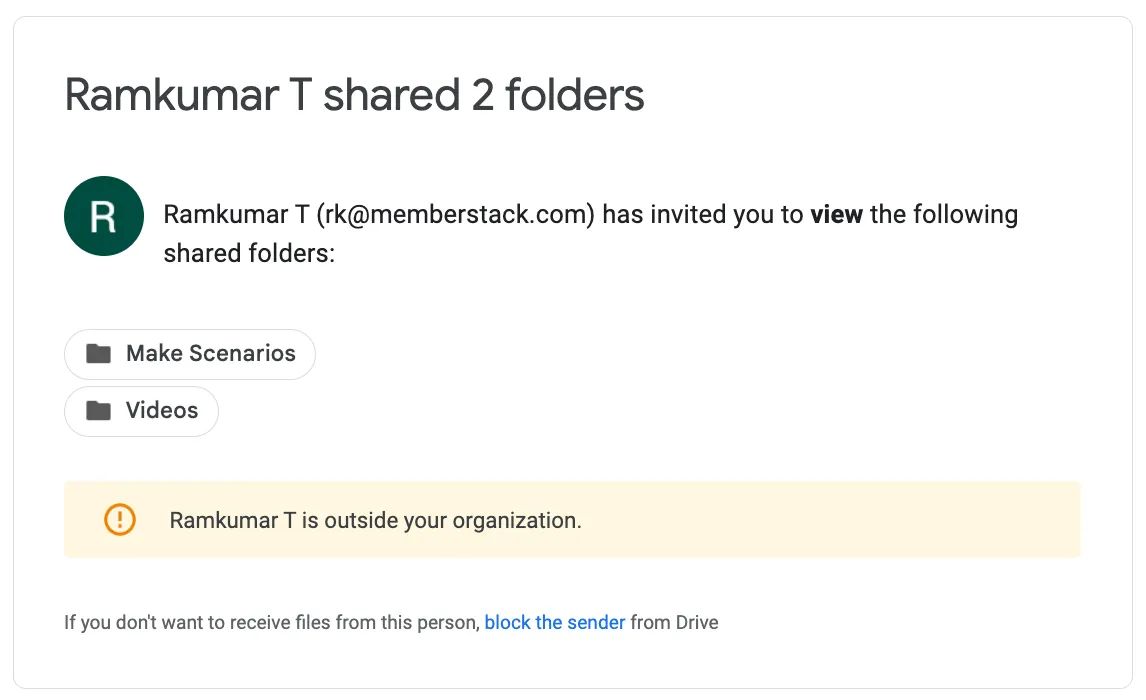
Lastly, I received an email from the Memberstack team with two Google Drive folders, one containing four Make.com Blueprints for the site and the other containing the 16 tutorial videos for setting up the project.
Unboxing the Template
My goal for this stage was to “plug in” the template and get it to a point where the website worked without any of my specifications. Even with the video tutorials (which laid everything out nicely), there was a good amount of setup and troubleshooting that I needed to do.
In total, this took me about 2 evenings to finish (although it would take much less time if I had to do it a second time). The first video suggested that I go through the “Getting Started with Memberstack” playlist on YouTube which, in retrospect, I should have done more intently. None of the information in those “Getting Started” videos is restated in the tutorials.
Here is a breakdown of what I did to set everything up:
First, I added the custom Membertack code to the head section of my site. I had to buy a CMS plan in Webflow to do this (which added an additional $29 a month to the project).
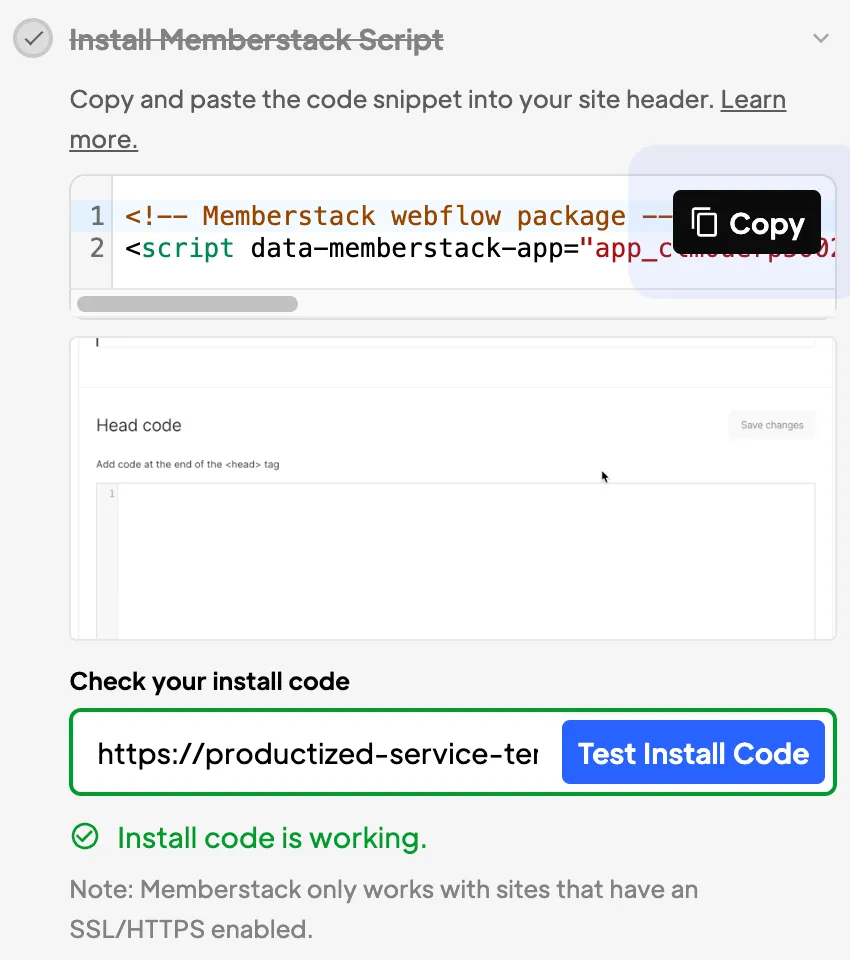
(I like that you can check to see if the installation worked properly!)
I then had to sign up for a free Stripe account (because the signup flow on the template requires “payment”).
The videos fall into two categories: explanation videos and tutorials. With the first, Evgenii goes through all the features and explains how the custom code, attributes, and elements work. These are very helpful in understanding exactly what’s going on.
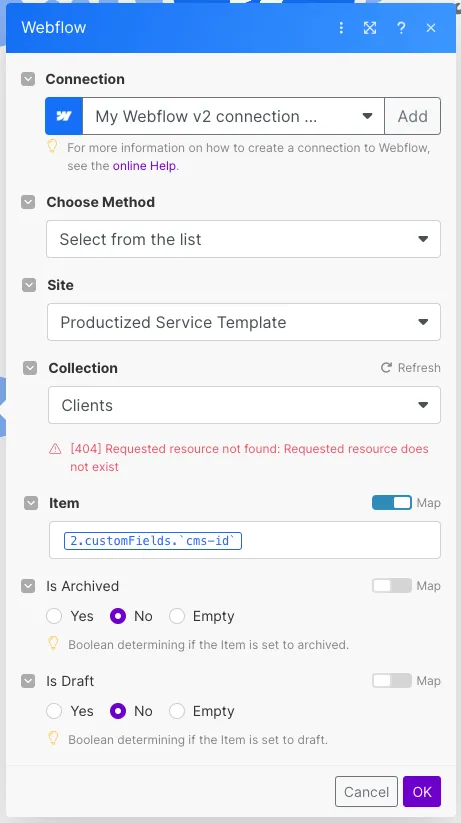
In the tutorial videos, he explains what you have to change on Make.com and in Webflow in order to set everything up. These are things like replacing placeholder items in Make or adding webhooks to your Webflow site.
To give a brief example: here is what I did to set up the “Add Client” feature (which gives clients the ability to sign up and get added to the CMS):
- Upload the Make.com blueprints to a new scenario.
- Connect the Make scenario to Memberstack by inputting your Public Key and Private Key (from the Dev Tools tab on your Memberstack dashboard) into the Memberstack module. You can also connect your Make.com endpoint (which is found in the MS module popup) from Dev Tools.
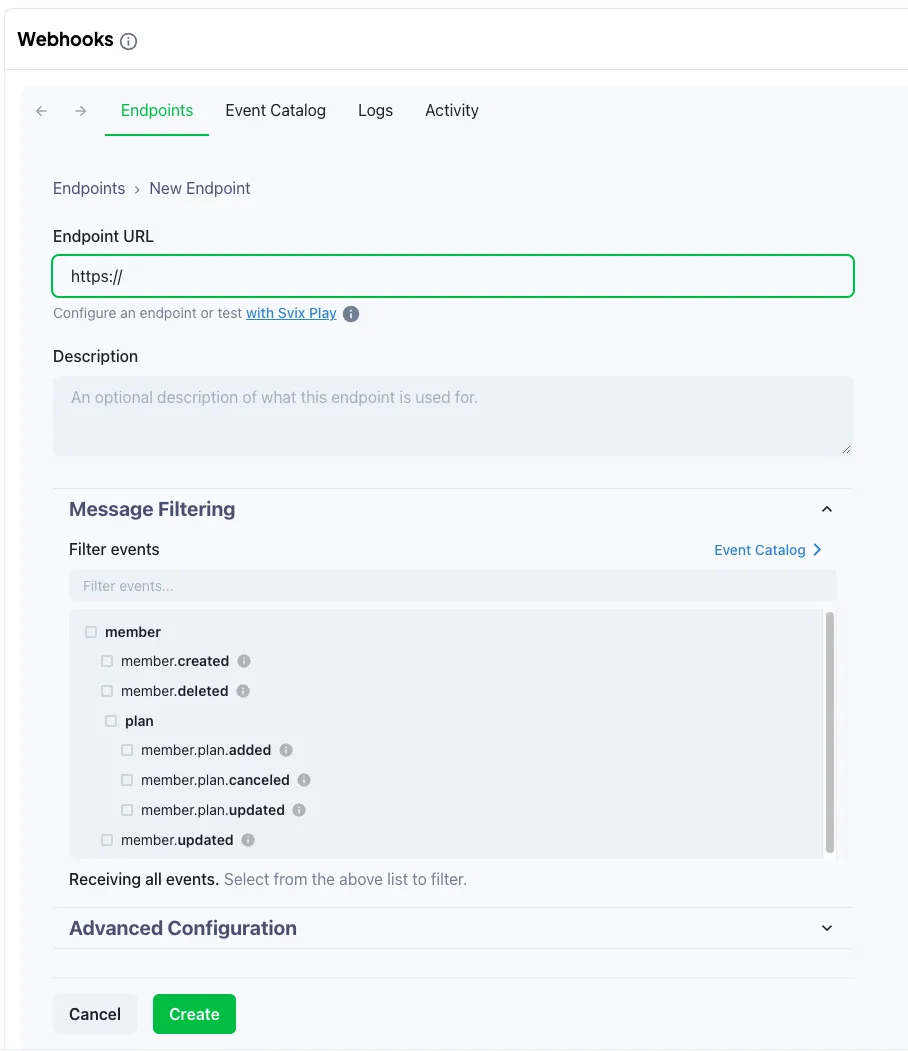
- Authorize/connect the Webflow module to the project and replace all of the fields with your own. I had some confusion here because the fields from the blueprint (which are themselves designed to connect to the original template) have identical names to the ones on my site.
For example, the “Clients” collection below is getting a [404] error because it is not pointing to the “Clients” collection on my site (even though it has the same name). I only made that mistake once though.
- To add filtering, you need to run the scenario a few times to get the right input/output fields. The “Troubleshooting” video walks you through this pretty clearly.
- And it works!
Setting up the rest of the scenarios wasn’t much different (although each had its peculiarities).
For example, I had to be careful with sample data (when adding Assignees or Clients to a test project) because the CMS IDs from the original template weren’t the same as the CMS IDs in my version. It will break the Make scenario if they aren’t replaced.
It’s important to note that this is not a “no-code” template. It contains a lot of code snippets that help with performance and functionality. As a “low-code” solution, this is a crazy powerful way to get to something like this without needing to spend days trying to piece together Javascript and custom attributes.
This does mean that there was a small learning curve to this setup – which was great for me because it forced me to see how everything fit together. I’m much less likely to break everything now when I start making changes to the template in the next part of the project.
Next Steps
Now that I have a functional shell for my website, I need to start thinking about what I want to add. This is the overall picture of what the customer flow looks like right now:
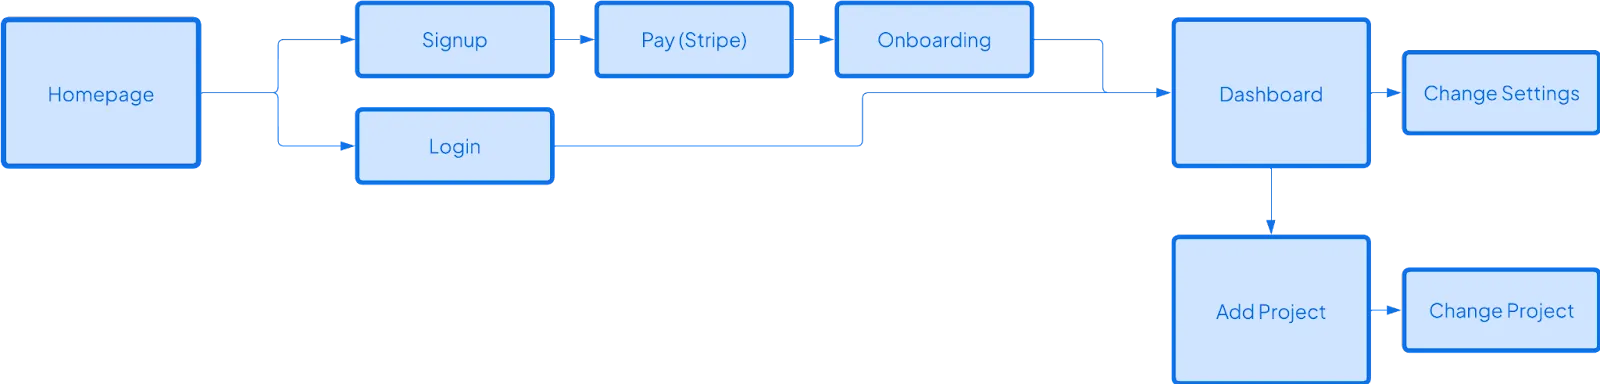
However, my ideal customer flow looks more like this:

The goal is to have two tiers of accounts: free accounts (who buy individual services as they see fit) and premium accounts (who get access to all services and other perks).
Others have discussed a couple of ways I can do this in this MS forum post: I’ll either create separate Membership plans for each service or try to figure something else out. The goal is basically to find a way to gate access to items in the “Services” CMS collection based on what clients have paid for. I’m sure that’ll be fun to figure out…
I have to decide on the brand and design guidelines first, though, because I’ll be using those to design what the service marketplace looks like. I’ll explain my strategy there in the next blog.
The next goal is toThe goal for that is to finalize the name of the agency, design the logo, decide on colors, and pick some themes (images, characters, etc.) I want to apply across my site. I plan to gather some design inspirations and then compile all of this into a brand guidelines document.
After that, I have to figure out pricing and customize the rest of the website to fit my brand. And then on to marketing!
Conclusion
An update on costs so far:
Total Cost:
Webflow CMS Site Plan: $29
Memberstack Basic Subscription: $29
Make.com Basic Subscription: $9
Productized Service Template: $56
TOTAL: $123.00
Total Revenue:
TOTAL: $0
This has been a very fun process so far. No-code development is great because it feels like solving a puzzle – you fit pieces together until the picture starts to make sense. I’m excited to see what new challenges I’m going to face. I hope you’ll stick around for all of them!
Add memberships to your Webflow project in minutes.
Over 200 free cloneable Webflow components. No sign up needed.
Add memberships to your React project in minutes.
.webp)


.png)
