Ovidiu
How to add an icon to a submit button in Webflow
Memberscripts needed
https://www.memberstack.com/scripts/custom-form-submit-button
Tutorial
Cloneable

Why/Use Cases –
- Stylize your form submit buttons for a more cohesive design.
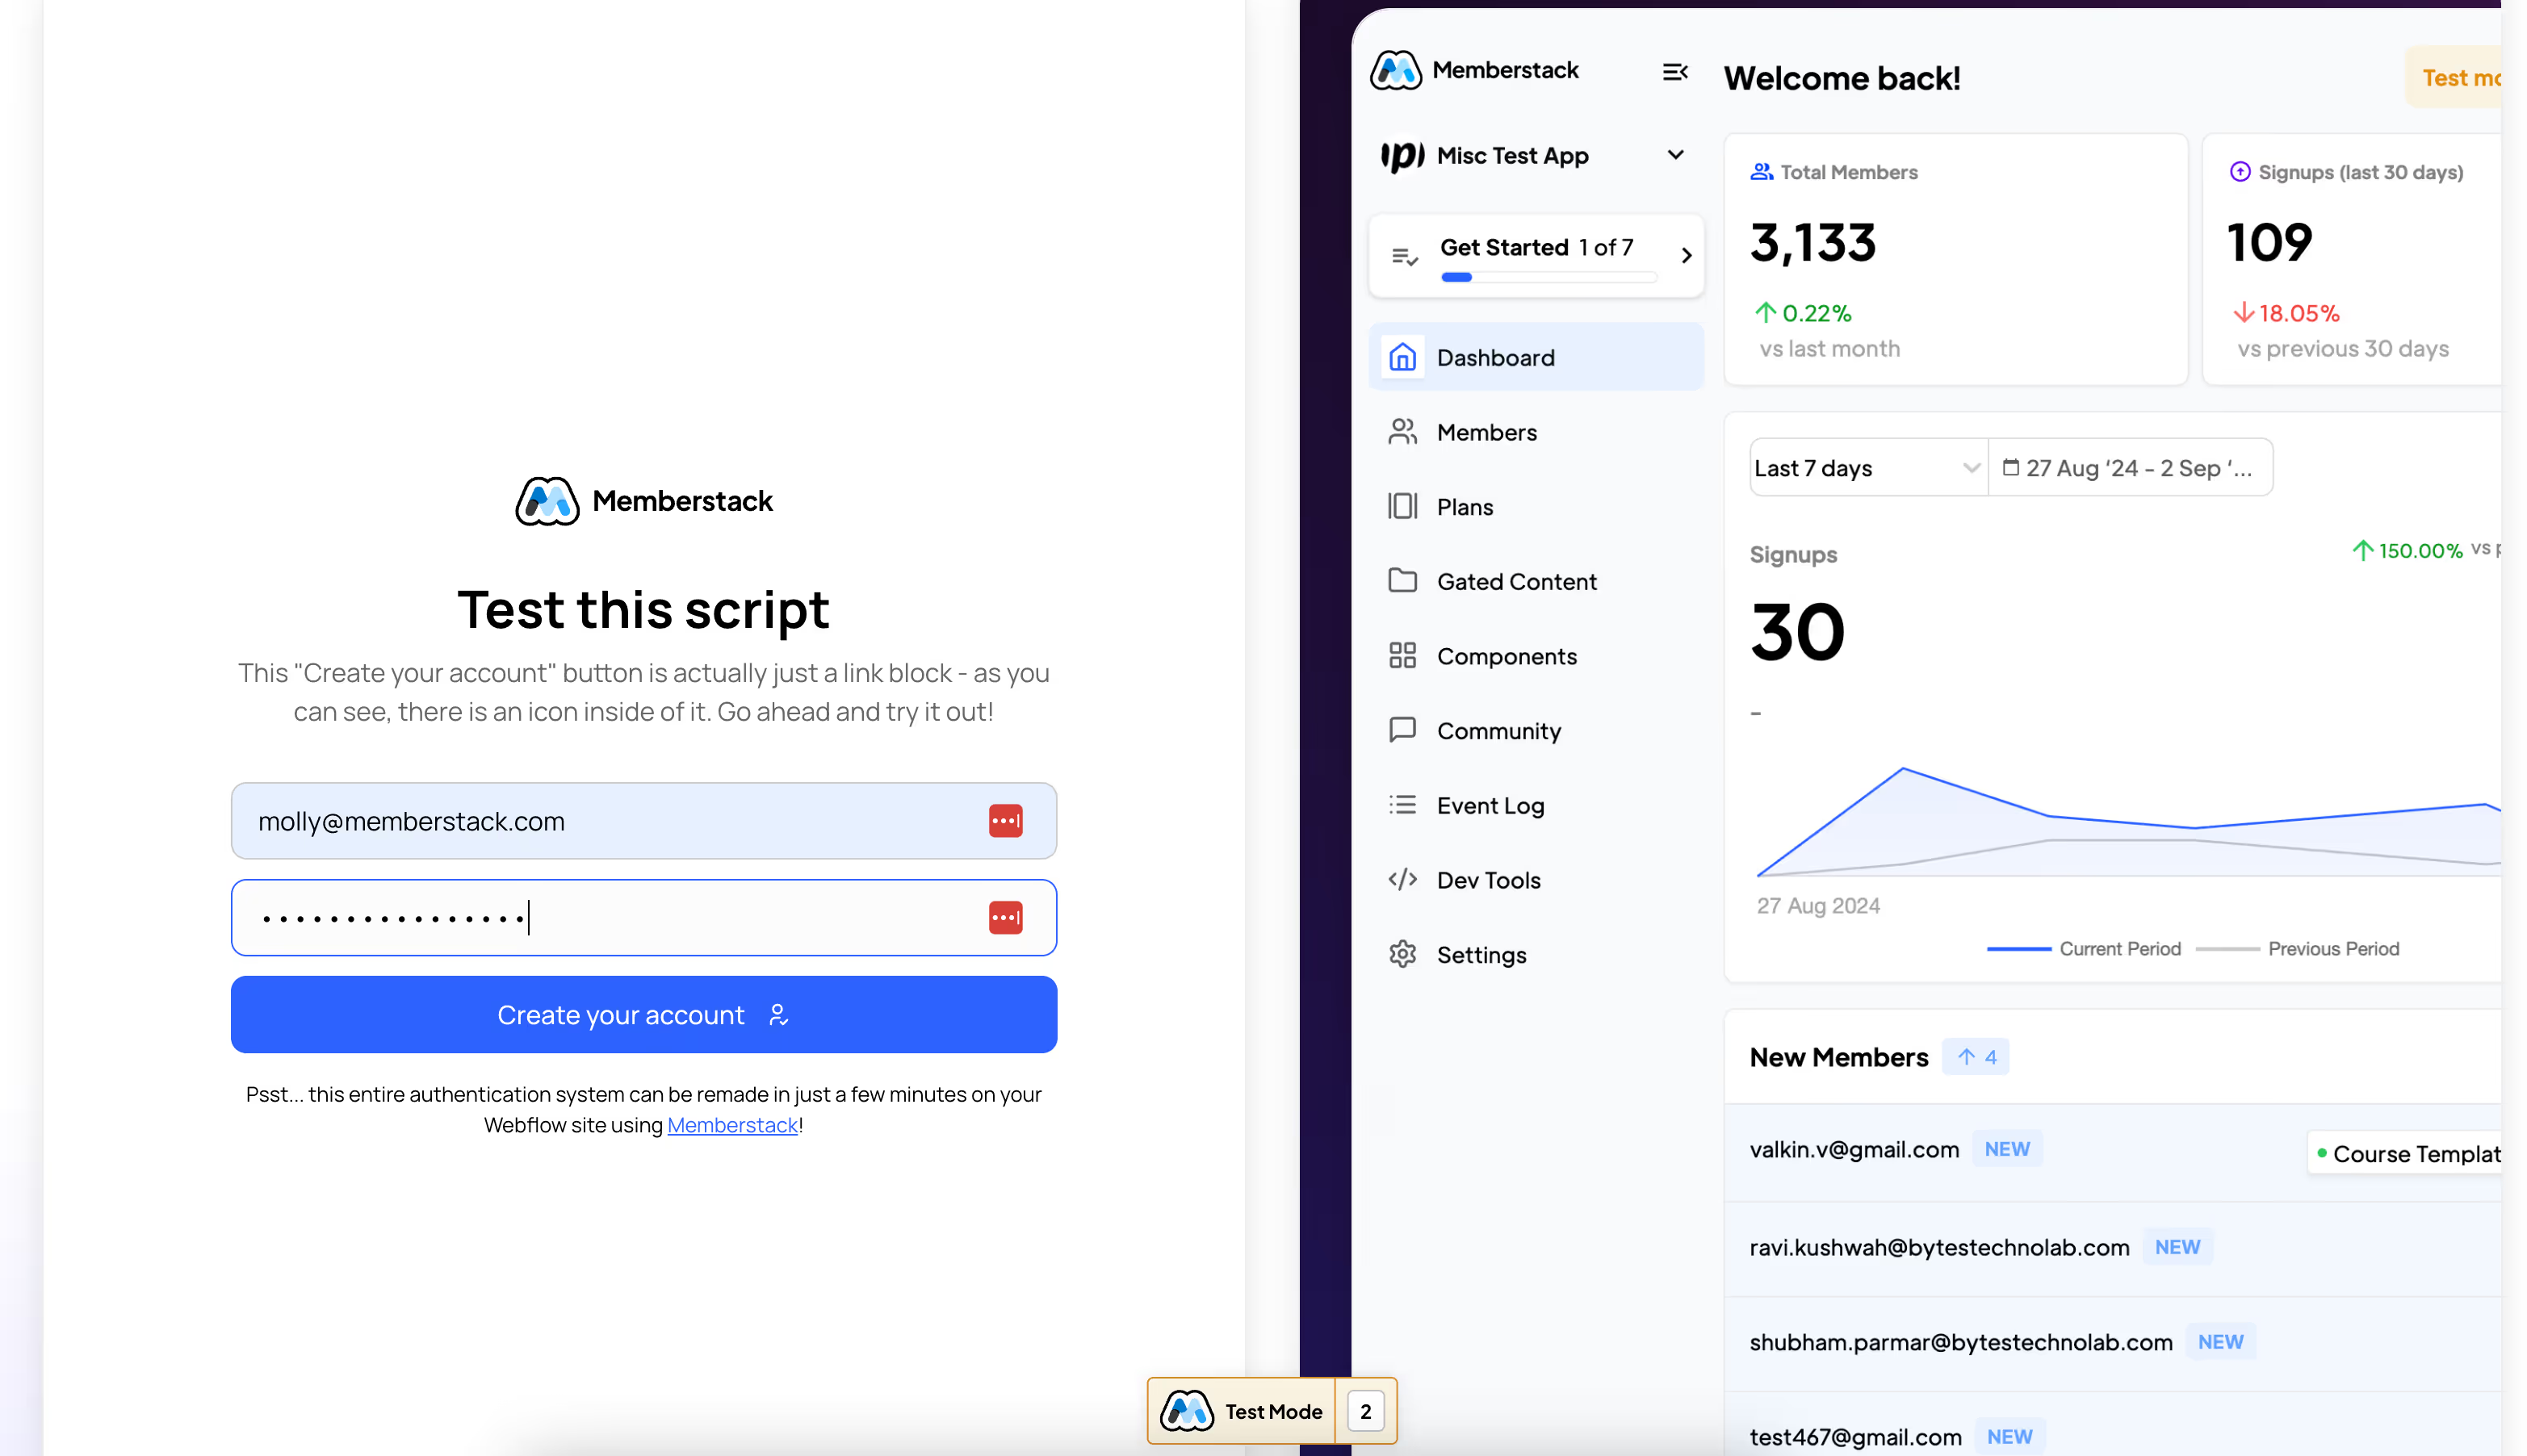
If you want to add some additional customization to your forms, you can work around Weblow’s limitations and add an icon to your forms’ submit buttons.
The guide below will work with any standard Memberstack or Webflow forms and our workaround essentially hides the real submit button and triggers it when users click on your custom one.
Adding an icon to a submit button in a Webflow form
To add an icon to a form submit button in Webflow, we’re going to use MemberScript #108 – Custom Form Submit Buttons. Follow the link to get the code you’ll need to add to your page and watch a video tutorial on how to set everything up.
Setting it up
Go ahead and create and style your form however you like. Once that’s done, select the form’s submit button and add the following attribute to it:
· ms-code-submit-old=”1”
Now go ahead and hide the button.
Now let’s build a new submit button. This will essentially be a link block with text and an icon inside. Once that’s done, add the following attribute to your new button:
· ms-code-submit-new=”1”
The values we’re using for these attributes are simply a way to match the new buttons with the old ones. For example, if you had two forms with custom submit buttons on the same page, you could just use the value “2” to match the second form’s buttons, then “3” and so on.
The values don’t necessarily need to be numbers, you could also use a word that describe each form.
e.g. a signup form could use a “signup” value for both buttons and a contact form could use “contact.”
Making it work
Now that you’ve got everything configured and your form’s set up in Webflow, all you need to do is add the MemberScript #107 custom code to your page, before the closing body tag.
Conclusion
That’s everything, you can now go ahead and test your form’s custom button on the live site.
If you want to use our demo project to get you started, just click the button below to add it to your Webflow site.

Our demo can help you add custom submit buttons to any Webflow form for additional customization.
Button – Get cloneable
Over 200 free cloneable Webflow components. No sign up needed.
Add memberships to your React project in minutes.

.webp)


.png)