Ovidiu
How to Automatically Remove a Members Plan after a Set Time (Webflow & Memberstack)
Memberscripts needed
https://www.memberstack.com/scripts/87-remove-a-plan-after-countdown
Tutorial
Cloneable

Why/When would need to Automatically Remove a Members Plan after a Set Time?
- Offering members gated content for just a limited time.
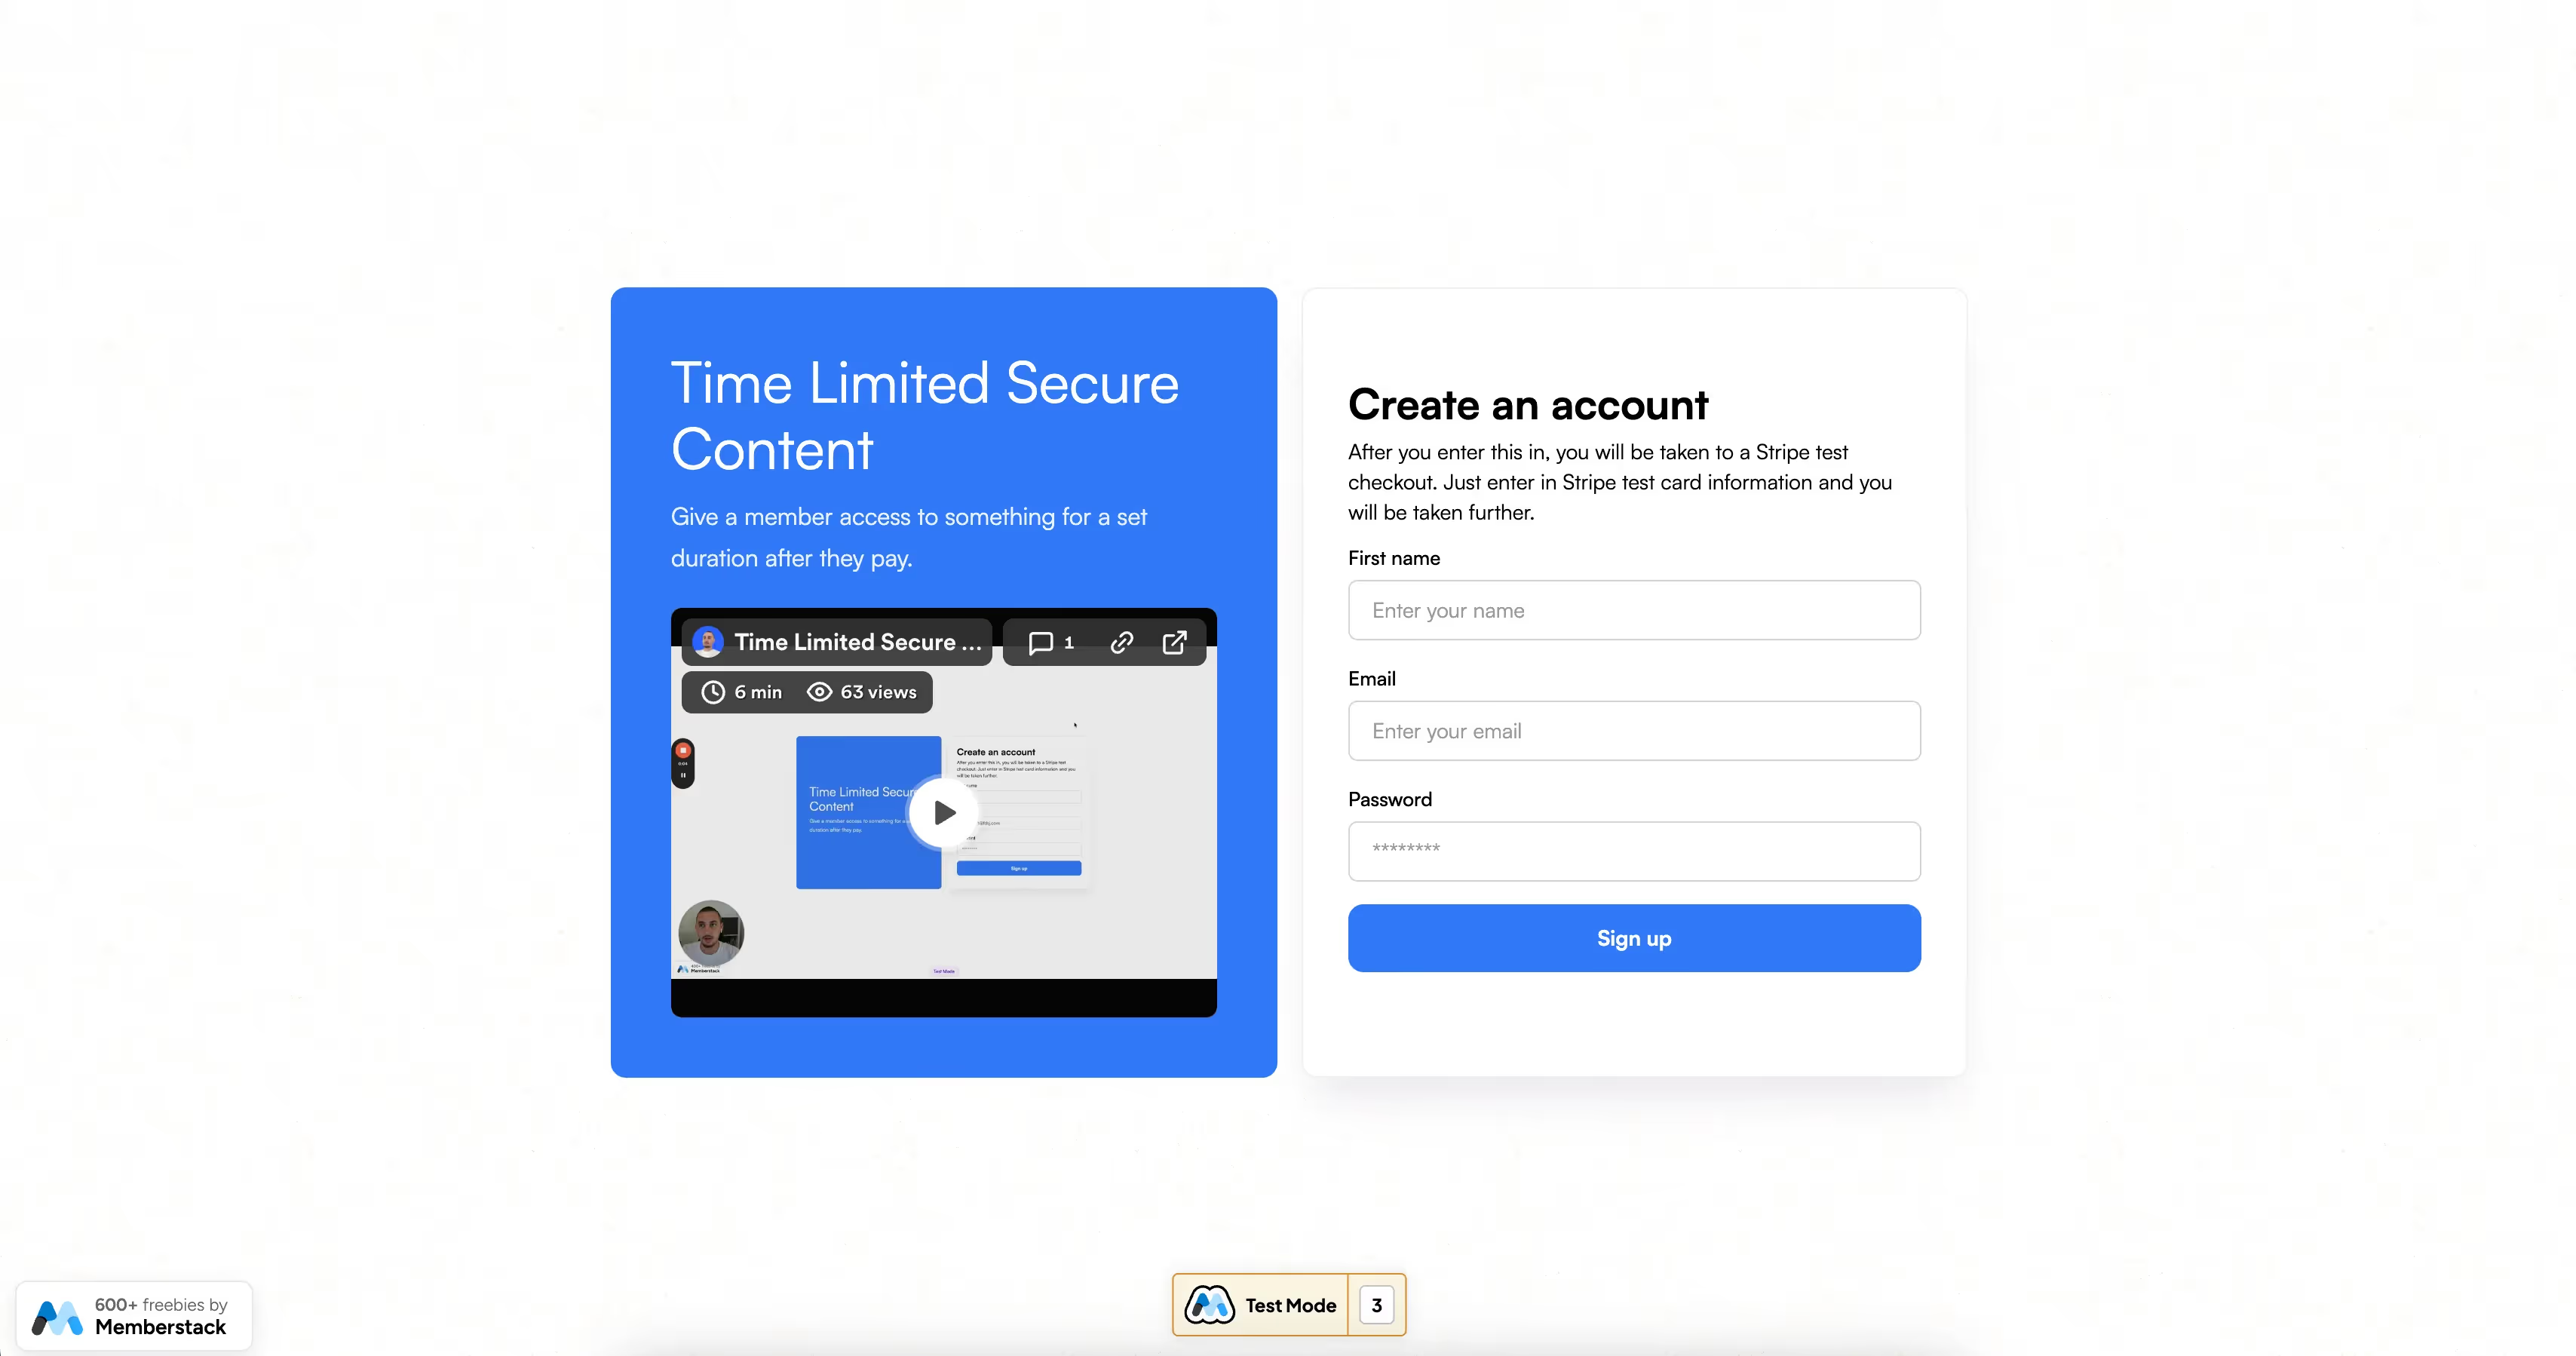
This guide will help you offer gated content to your members for just a limited time after they make a one-time payment.
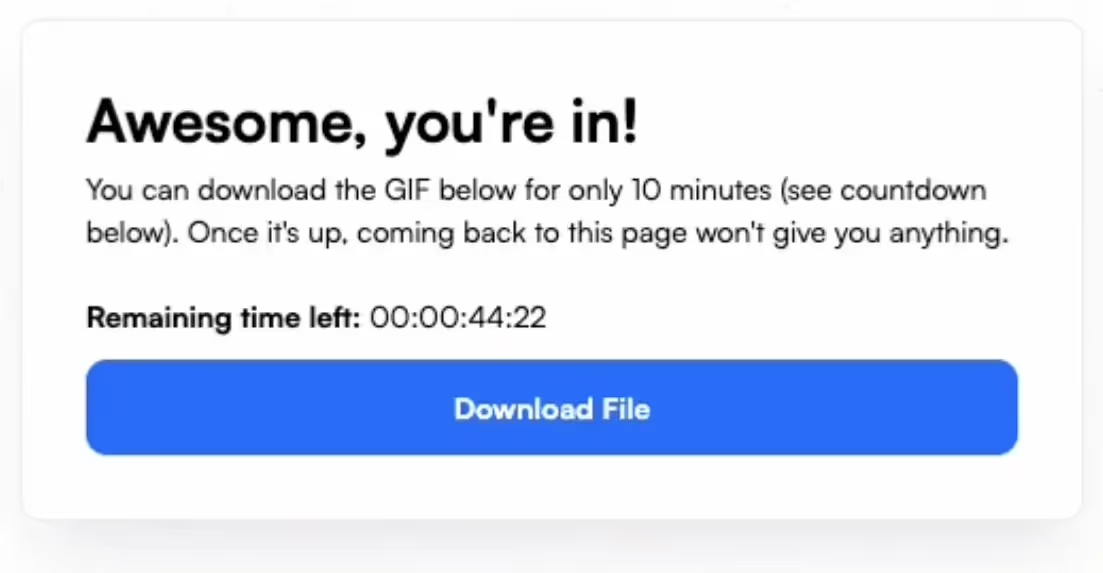
You’ll be able to display a countdown timer and a download button that as soon as the timer runs out, disappears entirely from the page and the plan is removed from their account.
Automatically removing a member’s plan after a set time on Webflow
To automatically remove a member’s plan after a set time on your Webflow site, we’re going to use MemberScript #87 – Remove a Plan After Countdown. Follow the link to get the code you’ll need to add to your page and watch a video tutorial on how to set everything up.
Additionally, we’re also going to need MemberScript #9 for the countdown timer.
Setting it up
Go to the page where your members are redirected to after payment to get the content they paid for.
The first thing you’ll need to do is set up the countdown using MemberScript #9.
Once that’s done, create and style a download button, then go on the site and inspect the page in your browser. Click on the download button and copy its HTML code, you’re going to need it later.
Now go back to Webflow and delete the button. In its place add an empty div block and add the following attributes to it:
- data-ms-secure-html=”download-button”
- ms-code-countdown=”hide-on-end”
Since we can’t trigger the removal of a paid plan in Memberstack, we’re going to get a little creative.
Go to your Memberstack dashboard and what you’ll need to do is create two plans: the first is a regular paid plan and the second is a free plan. When members purchase the paid plan, you’re going to use Plan Logic to add the free plan to their account.
Once you’ve got that set up, go to Gated Content in the dashboard and add the content you want to offer members under the free plan.
Now under Hosted Content, select HTML as the content type and name it download-button.
All you need to do now is grab the HTML for the download button that we copied earlier and paste it in the code field under Hosted Content and save everything.
Making it work
Now that you’ve got everything set up in both Webflow and Memberstack, all you need to do is add the MemberScript #87 custom code to your download page, after the MemberScript #9 code and before the closing body tag.
The one thing you’ll need to change in the custom code is the planId, which needs to match the free plan ID in your Memberstack dashboard.
Conclusion
That’s all there is to it, you can now go ahead and test everything on your live site.
If you want to use our demo project to get you started, just click the button below to add it to your Webflow site.

Our demo can help you easily offer gated content after a one-time payment, for a limited time only. Once that time passes, content isn’t available anymore and members’ access is removed.
Take me to the Scripts
Add memberships to your Webflow project in minutes.
Over 200 free cloneable Webflow components. No sign up needed.
Add memberships to your React project in minutes.

.webp)


.png)