Ovidiu
How to make form fields required if a checkbox is checked
Memberscripts needed
Tutorial
Cloneable


Why/Use Cases
- Improve user flow by only requiring their input when certain conditions are met.
Making form fields required if a checkbox is checked on a Webflow site
Sometimes you’ll need form fields to be required based on certain conditions, and that’s what this guide will help you with.
Using a simple checkbox, you can set whether specific form fields are required or not.
Additionally, we’ll also see how you can completely disable specific fields based on whether or not the checkbox is checked.
To make form fields required when a checkbox is checked on your Webflow site, we’re going to use MemberScript #125 – Control Required State with Checkbox. Follow the link to get the code you’ll need to add to your page and watch a video tutorial on how to set everything up.
Setting it up
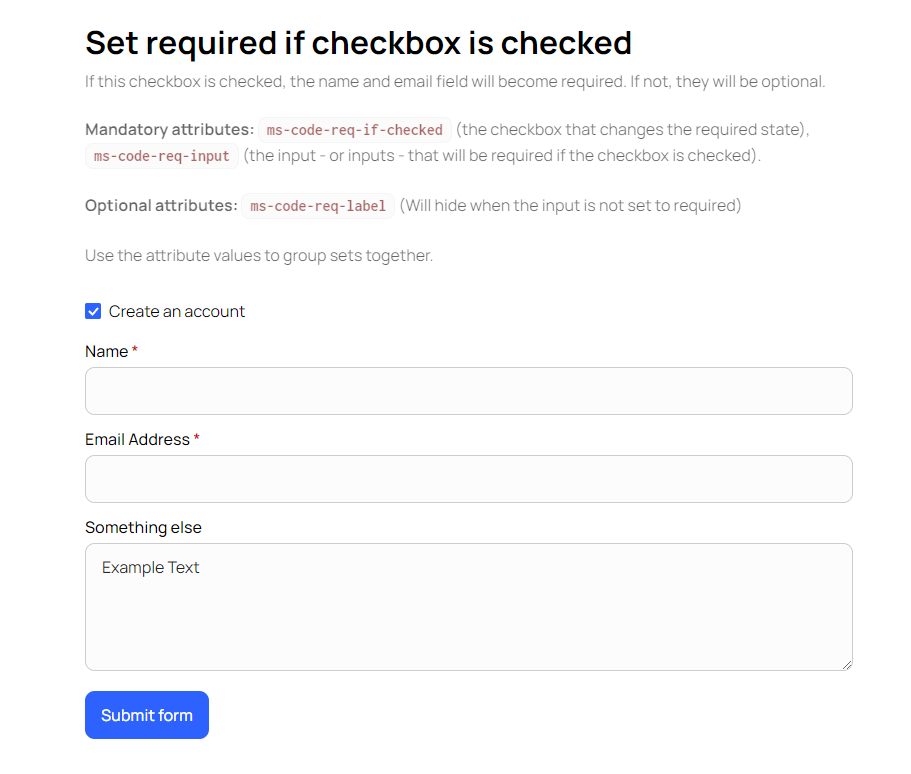
First, you’ll need to create and style your form. Once you’ve added the checkbox, go ahead and add this attribute to it:
· ms-code-req-if-checked=”1”
The value here is essentially the ID you’re going to use to match the checkbox with the fields it’s supposed to influence. It can be anything you like, not necessarily a number, and if you’ve got multiple checkboxes with their own fields, set the values accordingly.
Now select the element you used to indicate that a field is required and add this attribute to it:
· ms-code-req-label=”1”
Finally, select the relevant fields and add this attribute to them:
· ms-code-req-input=”1”
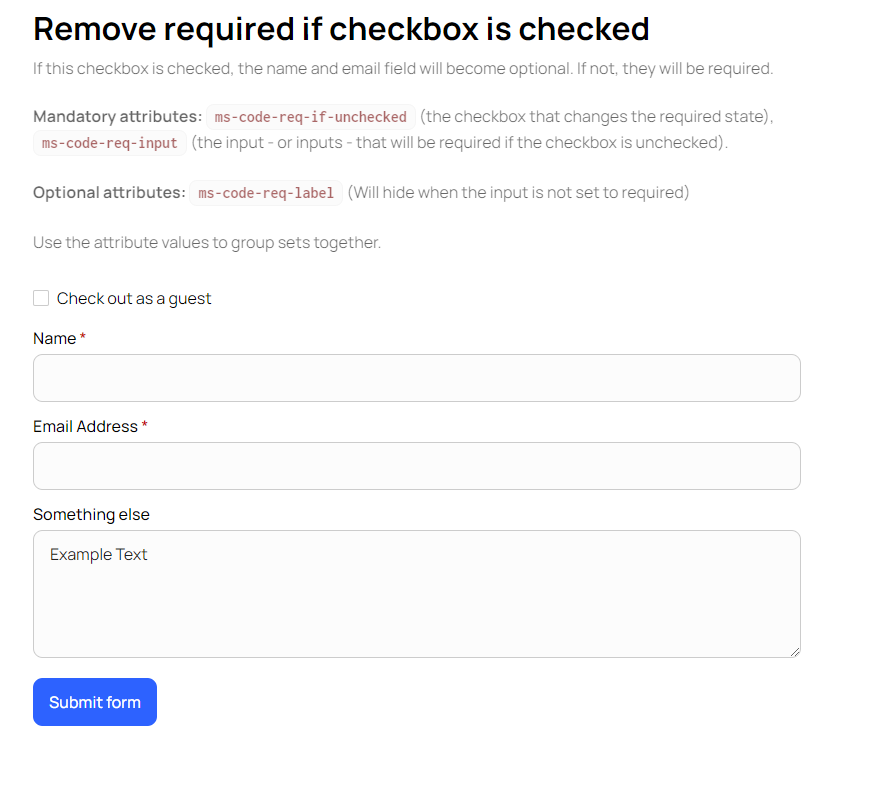
Now if you want to do this opposite and require fields if the checkbox is unchecked, all you need to do is change the checkbox’s attribute like so:
· ms-code-req-if-unchecked=”1”
Additionally, if you want to disable fields if they are not required, add another attribute to the checkbox:
· ms-code-disable-if-not-req=””
Making it work
Now that you’ve got everything set up in Webflow, all you need to do is add the MemberScript #125 custom code to your page, before the closing body tag.
If you want to style disabled fields differently, you’ll find options at the bottom of the code.
Conclusion
That’s everything, you can now go ahead and test your form’s fields on your live site.
If you want to use our demo project to get you started, just click the button below to add it to your Webflow site.
Our demo can help you make specific form fields required when a checkbox is checked on your Webflow site.
Take me to Cloneable!
Add memberships to your Webflow project in minutes.
Over 200 free cloneable Webflow components. No sign up needed.
Add memberships to your React project in minutes.

.webp)


.png)