Ovidiu
How to make member specific profiles
Memberscripts needed
https://www.memberstack.com/scripts/populate-link-from-custom-field
Tutorial
Cloneable
https://webflow.com/made-in-webflow/website/custom-field-link
Why/When would need to make member specific profiles?
- Allow users to personalize their profile pages with custom links to their websites or social profiles.
- Improve social aspects of your website and foster a sense of community if members can share personal details with each other.
If your website allows users to create personal profiles and interact with each other, you’ll likely want to also allow them some customization options to really make their profiles their own.
One thing you can do in this regard is allow users to have custom links on their profiles.
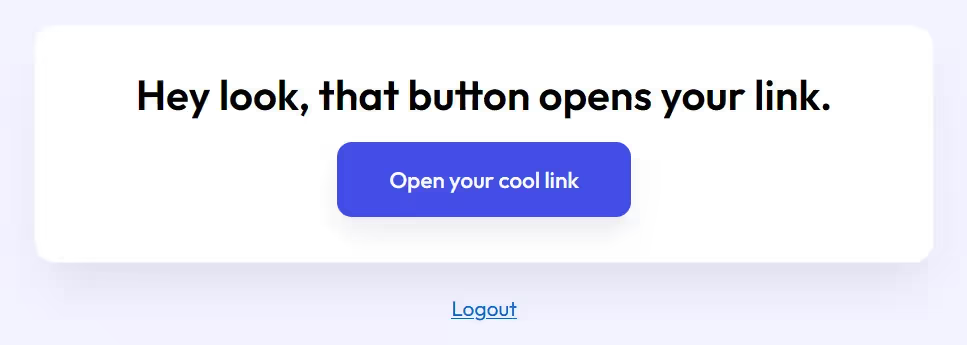
Let’s look at how you can display buttons with custom links that populate based on what your users fill in in their profile settings.
How to populate links from custom fields on Webflow
In order to set this up, we’re going to use MemberScript #17 - Populate Link From Custom Field. Follow the link to get the code you’ll need to add to your page and watch a video tutorial on how to set everything up.
Creating the UI
First thing’s first, you’re going to need to create the member profile page and add all the relevant information, buttons, and whatever else you need to have on your profile pages.
After you’ve created the buttons, you need to add this attribute to them: ms-code-field-link=”VALUE”, where VALUE should be whatever your custom fields are.
For example, if your members have a personal website field that they can fill in, your attribute might have the value set to website.
As usual, you can control whether the button link opens in a new tab or not and customize it in any way you normally would a button.
What’s great is that if the value of the custom field is empty, the element with the ms-code-field-link attribute will be set to display: none. This ensures you won’t have any broken buttons on member profile pages.
Making it work
Now that you’ve created and styled everything, you just need to add the MemberScript #17 custom code to your page, before the closing body tag.
This will provide the functionality needed to populate the button links from the custom fields that your members filled in. All you need to do is add the code and that’s it, you don’t need to change anything about it, as usual.
Conclusion
That’s all you have to do to populate links from custom fields. Now your website members can fill in personal details like website URLs or social media handles and their links will show up on their profile pages.

If you want to use our demo project to get you started, just click the button below to add it to your project.
Button – Get cloneable
Take me to the Scripts
https://www.memberstack.com/scripts/populate-link-from-custom-field
Add memberships to your Webflow project in minutes.
Over 200 free cloneable Webflow components. No sign up needed.
Add memberships to your React project in minutes.

.webp)


.png)