Ovidiu
How to Hide a Popup for a Set Period of Time in Webflow
Memberscripts needed
https://www.memberstack.com/scripts/91-hide-popup-for-set-duration
Tutorial
Cloneable

Why/When would need to Hide a Popup for a Set Period of Time in Webflow?
- Hide an element such as a popup when another element is clicked – e.g. hide a popup if a form is filled out.
You may sometimes want to hide certain elements of your page such as popups for a certain amount of time if your visitors interact with another element on your page.
This might be because that element has now become irrelevant or simply to improve the user experience by hiding that element once visitors choose to hide it.
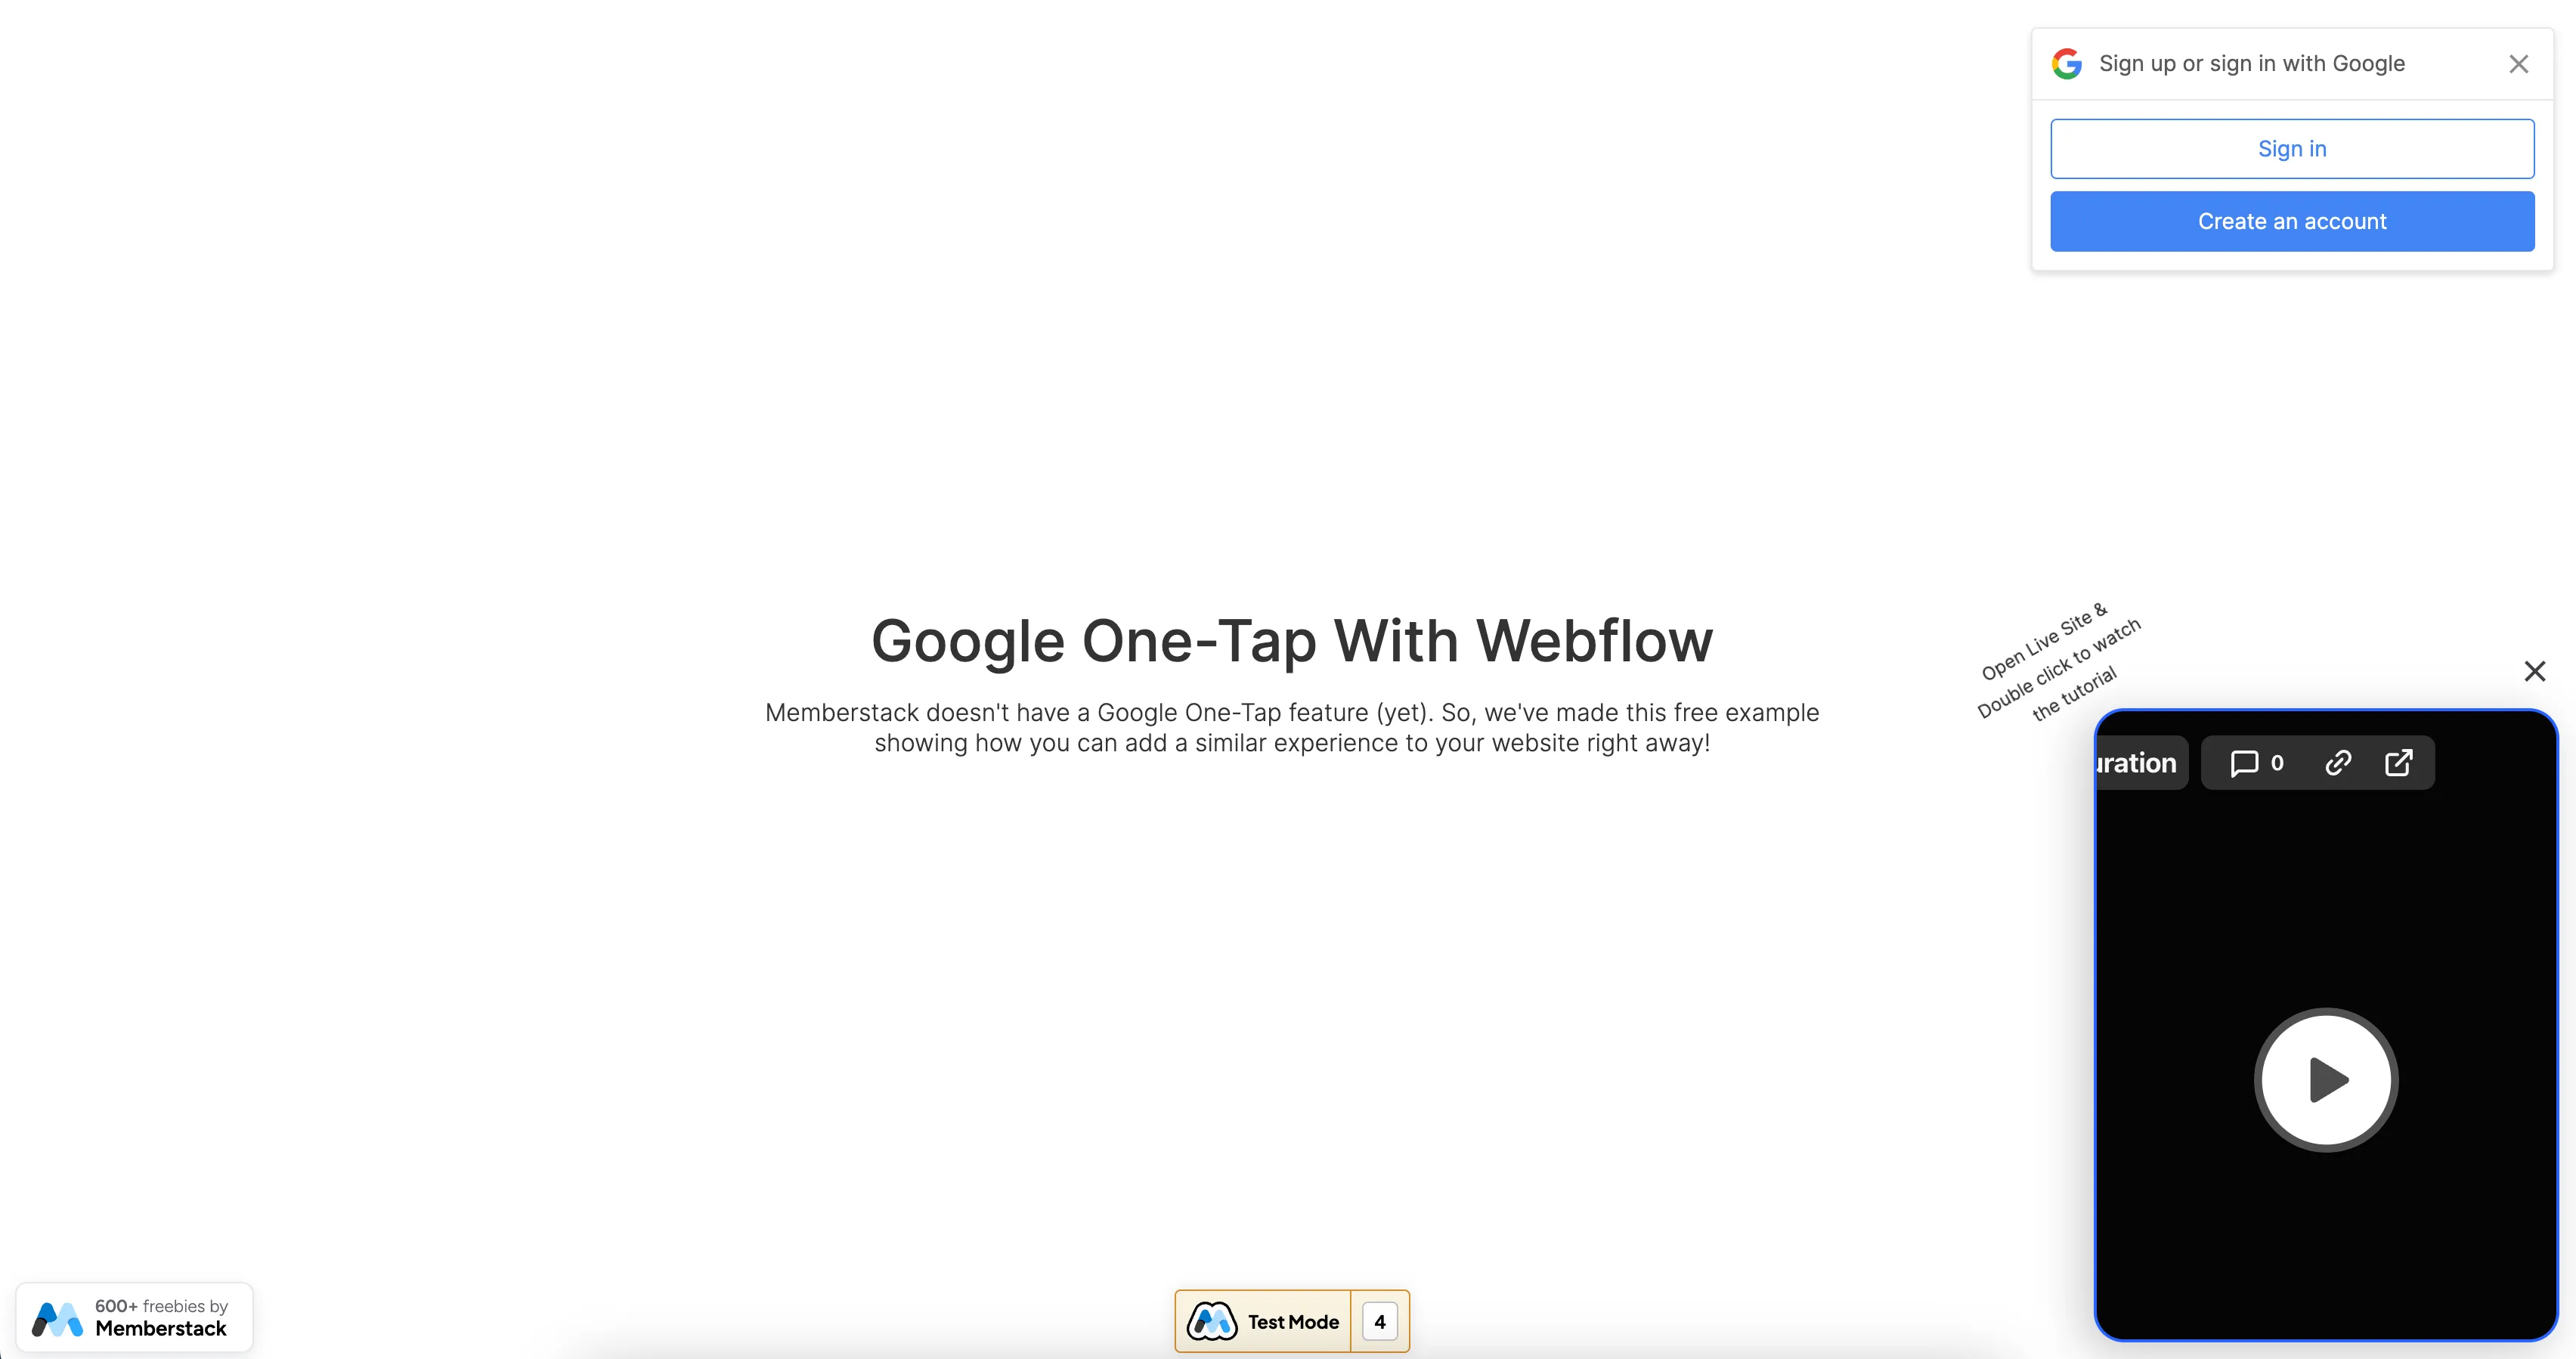
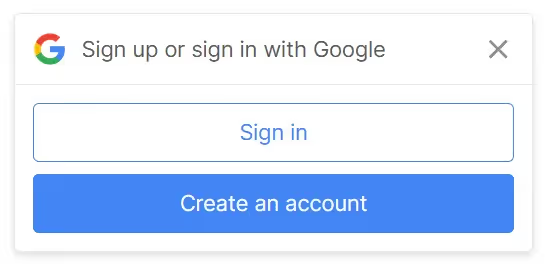
This guide will show you a quick and easy way to do just that by using the example of a Google sign-in popup. Once visitors close this popup, it will stay closed for one hour even if they refresh the page.
Hiding a popup for a set period of time in Webflow
To hide a popup for a set period of time on a Webflow site, we’re going to use MemberScript #91 – Hide Popup for Set Duration. Follow the link to get the code you’ll need to add to your page and watch a video tutorial on how to set everything up.
Setting it up
The first thing you’ll need to do is create the trigger element – in our case it will be an X in the corner of the popup. Once that’s done, add the following attribute to the element’s wrapper:
- ms-code-hide-popup=”button”
Next, you’ll need to add the following attribute to the element that you want to hide:
- ms-code-hide-popup=”0:1:0:0”
The first number represents the number of days, then hours, minutes, and seconds. In our example, the element will stay hidden for one hour.
Making it work
Now that you’ve got your trigger element and you’ve added the appropriate attributes, all you need to do is add the MemberScript #91 custom code to your page, before the closing body tag.
If you’re already using jQuery elsewhere, you can delete the first line of the custom code.

Conclusion
That’s everything, you can now go ahead and test your disappearing element on your live site.
If you want to use our demo project to get you started, just click the button below to add it to your Webflow site.

Our demo can help you add a popup that stays hidden for a set amount of time once users close it.
Take me to the Scripts
Over 200 free cloneable Webflow components. No sign up needed.
Add memberships to your React project in minutes.

.webp)


.png)