Ovidiu
How to Make Members Complete their Profile
Memberscripts needed
#10 - Display/Remove Element based on Custom Field - How to make members complete their profile
Tutorials
https://www.loom.com/share/6a0d609ba7c8431cb9a964634ac0ed86?sid=a27367c5-4d6b-4851-8338-66ed9e10e010
Attributes used
data-ms-member=””
ms-code-customfield=””
Cloneable
https://webflow.com/made-in-webflow/website/hide-elements-if-custom-field-blank
Why/When to use the Make Members Complete their Profile Featyre?
- Increase a profile’s trust and credibility on sites where interactions between users are part of the experience.
- Provide a better experience when there’s an algorithm that tailors users’ experiences based on the personal information they submit.
- Improve profiles’ visibility.
Examples of sites/apps where a complete profile is essential for the best experience: job finding sites, freelancing sites, dating sites and other social networking platforms, health apps, content streaming sites, etc.
Sometimes, a user completing their profile is key to them having the best experience on your site.
For example, if you’ve got a social networking platform, not only would completing their profile make for a more trustworthy presence on the site, but it may also provide them with better suggestions for new people they could connect with.
Another example would be a content streaming website, where if they don’t fill out information about the content they like, the algorithm won’t know what to recommend them.
How to get people to complete their profiles
In order to entice people to complete their profiles with the requested information, you need to tell them what exactly it is they’re missing out on.
If there are certain functionalities that are central to the experience you want to provide, you might want to make them unavailable until users add the needed data and inform them of this.
One way to do that would be to simply hide elements of a page until certain fields are filled out and with MemberScript #10 - Display/Remove Element based on Custom Field, that’s exactly what you can do.
How to add or remove an element based on a custom field
Click the link above to get the code needed for the functionality we’re adding and also watch a tutorial video on how it works.
Creating each element
For starters, you can either use our cloneable below to get you started or just build out your custom elements from scratch.
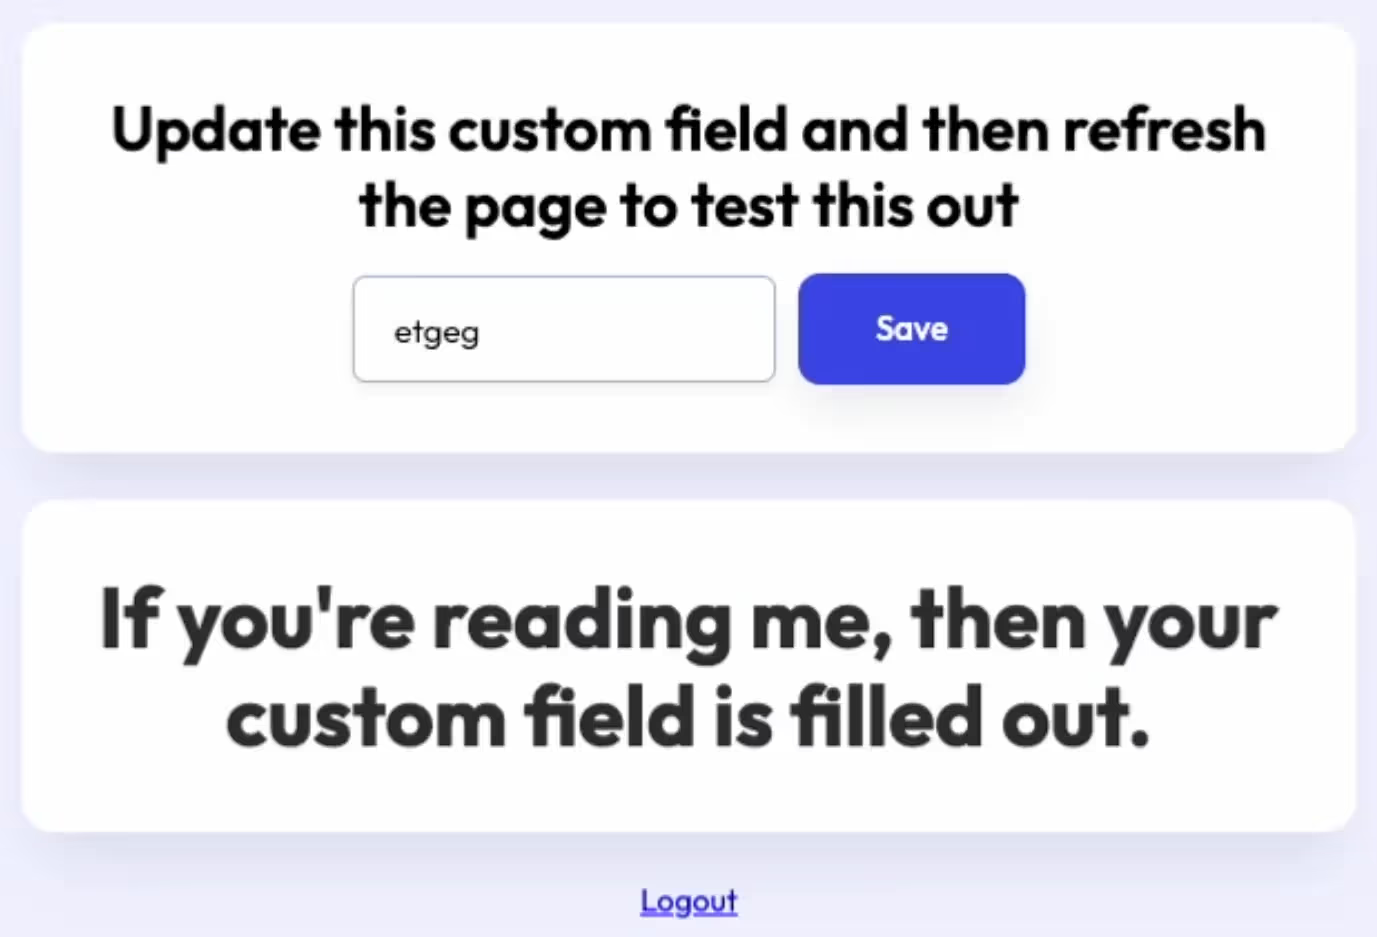
You’ll need the field itself and the element whose visibility is tied to it.
After you’ve created the field, you’ll need to add the data-ms-member=”” attribute to it.
Then comes the disappearing element which needs to use the ms-code-customfield=”” attribute.
Remember to use the same value in each attribute in order to tie the element to the field.
Making it work
Now that you’ve built everything, getting it to work is simple: all you need to do is copy the custom code from MemberScript #10 to your page, before the closing body tag.
And that’s pretty much all there is to it, this is a rather simple one. You can have multiple fields tied to multiple elements and even multiple elements tied to a single field. Just be careful not to get the attribute values mixed up.
Conclusion
Sometimes in order to provide members with the best experience and the full range of functionalities, they need to fill out certain information. Thankfully, thanks to MemberScripts, it’s pretty easy to get them to do so and you should now have the tools you need to convince your users to complete their profiles.
Check-out our free cloneable you can use right away!

Take me to the Script
#10 - Display/Remove Element based on Custom Field - How to make members complete their profile
Add memberships to your Webflow project in minutes.
Over 200 free cloneable Webflow components. No sign up needed.
Add memberships to your React project in minutes.

.webp)


.png)