
Competition: Build a SaaS app between May 29 - June 14 and get a chance to win cash prizes, free plans & more!
Post data to a webhook & keep the default Webflow form behavior.
Creating the Make.com Scenario
1. Download the JSON blueprint below to get stated.
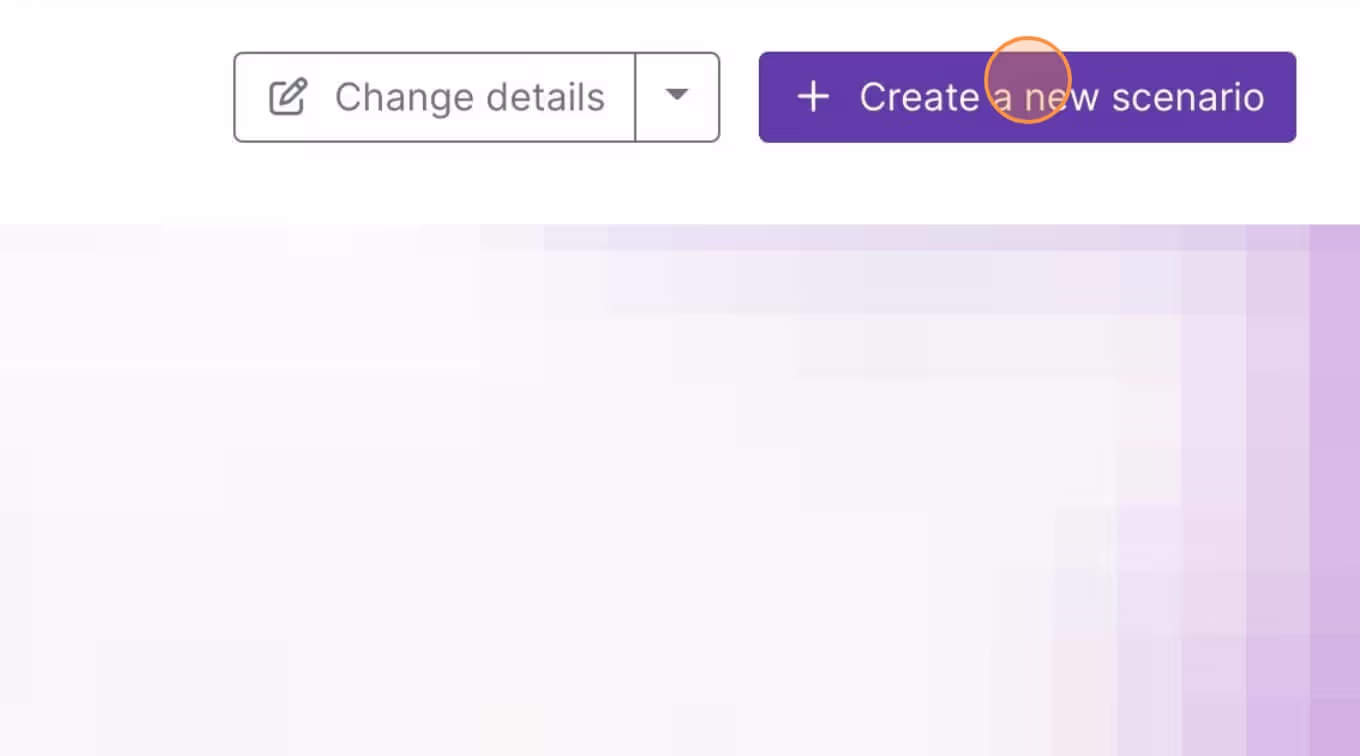
2. Navigate to Make.com and Create a New Scenario...
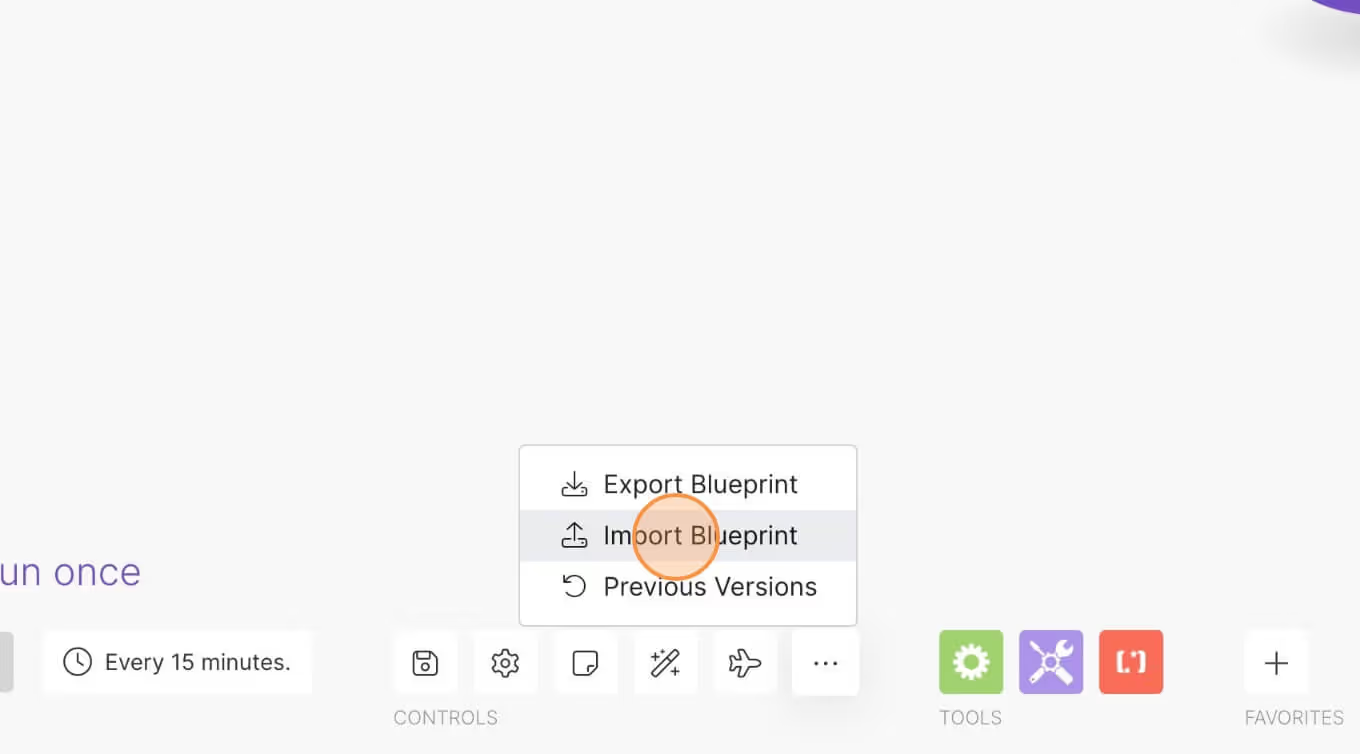
3. Click the small box with 3 dots and then Import Blueprint...
4. Upload your file and voila! You're ready to link your own accounts.
Need help with this MemberScript?
All Memberstack customers can ask for assistance in the 2.0 Slack. Please note that these are not official features and support cannot be guaranteed.
Join the 2.0 SlackVersion notes
Attributes
Description
Attribute
No items found.
Guides / Tutorials
No items found.
Tutorial
What is Memberstack?
Auth & payments for Webflow sites
Add logins, subscriptions, gated content, and more to your Webflow site - easy, and fully customizable.
Learn more
.webp)

"We've been using Memberstack for a long time, and it has helped us achieve things we would have never thought possible using Webflow. It's allowed us to build platforms with great depth and functionality and the team behind it has always been super helpful and receptive to feedback"

Jamie Debnam
39 Digital

"Been building a membership site with Memberstack and Jetboost for a client. Feels like magic building with these tools. As someone who’s worked in an agency where some of these apps were coded from scratch, I finally get the hype now. This is a lot faster and a lot cheaper."

Félix Meens
Webflix Studio

"One of the best products to start a membership site - I like the ease of use of Memberstack. I was able to my membership site up and running within a day. Doesn't get easier than that. Also provides the functionality I need to make the user experience more custom."

Eric McQuesten
Health Tech Nerds
Off World Depot
"My business wouldn't be what it is without Memberstack. If you think $30/month is expensive, try hiring a developer to integrate custom recommendations into your site for that price. Incredibly flexible set of tools for those willing to put in some minimal efforts to watch their well put together documentation."

Riley Brown
Off World Depot

"The Slack community is one of the most active I've seen and fellow customers are willing to jump in to answer questions and offer solutions. I've done in-depth evaluations of alternative tools and we always come back to Memberstack - save yourself the time and give it a shot."

Abbey Burtis
Health Tech Nerds
Slack
Need help with this MemberScript? Join our Slack community!
Join the Memberstack community Slack and ask away! Expect a prompt reply from a team member, a Memberstack expert, or a fellow community member.
Join our Slack


.png)
