#124 - Toggle Item Visibility v0.1

Use custom buttons to hide and show elements, with states saved in local storage.

View demo

<!-- 💙 MEMBERSCRIPT #124 v0.1 💙 - TOGGLE ITEM VISIBILITY -->
<script>
  document.addEventListener('DOMContentLoaded', function() {
    const STORAGE_KEY = 'ms-code-vis-states';

    // Load saved states from local storage
    let savedStates = JSON.parse(localStorage.getItem(STORAGE_KEY)) || {};

    // Find all unique group identifiers
    const groups = new Set([...document.querySelectorAll('[ms-code-vis-item]')].map(el => el.getAttribute('ms-code-vis-item')));

    groups.forEach(group => {
      const item = document.querySelector(`[ms-code-vis-item="${group}"]`);
      const showButton = document.querySelector(`[ms-code-vis-show="${group}"]`);
      const hideButton = document.querySelector(`[ms-code-vis-hide="${group}"]`);

      if (!item || !showButton || !hideButton) return;

      // Function to update visibility
      function updateVisibility(isVisible) {
        if (isVisible) {
          item.style.removeProperty('display');
          showButton.style.display = 'none';
          hideButton.style.removeProperty('display');
        } else {
          item.style.display = 'none';
          showButton.style.removeProperty('display');
          hideButton.style.display = 'none';
        }
        // Save state to local storage
        savedStates[group] = isVisible;
        localStorage.setItem(STORAGE_KEY, JSON.stringify(savedStates));
      }

      // Set initial visibility
      const defaultState = item.getAttribute('ms-code-vis-default');
      const savedState = savedStates[group];

      if (savedState !== undefined) {
        updateVisibility(savedState);
      } else if (defaultState === 'hide') {
        updateVisibility(false);
      } else {
        updateVisibility(true);
      }

      // Add click event listeners
      showButton.addEventListener('click', function(e) {
        e.preventDefault();
        updateVisibility(true);
      });

      hideButton.addEventListener('click', function(e) {
        e.preventDefault();
        updateVisibility(false);
      });
    });
  });
</script>

Creating the Make.com Scenario

1. Download the JSON blueprint below to get stated.

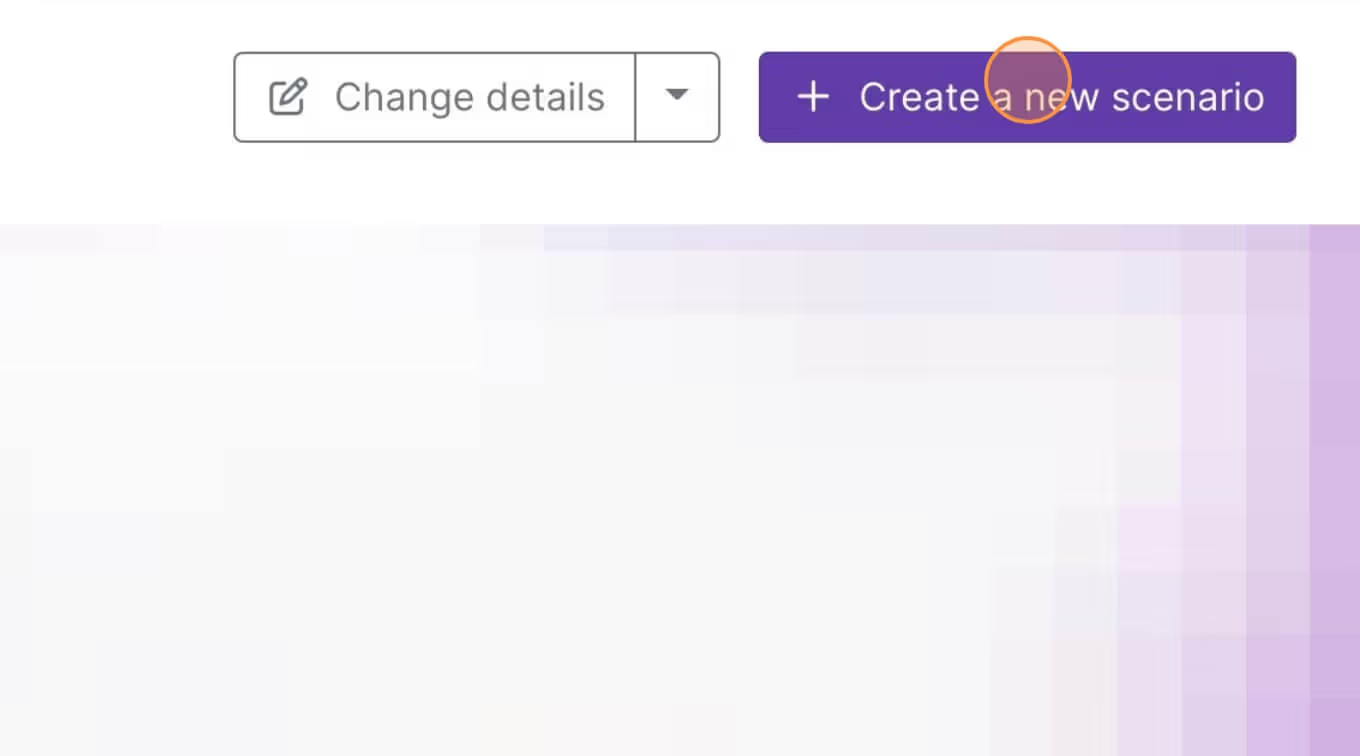
2. Navigate to Make.com and Create a New Scenario...
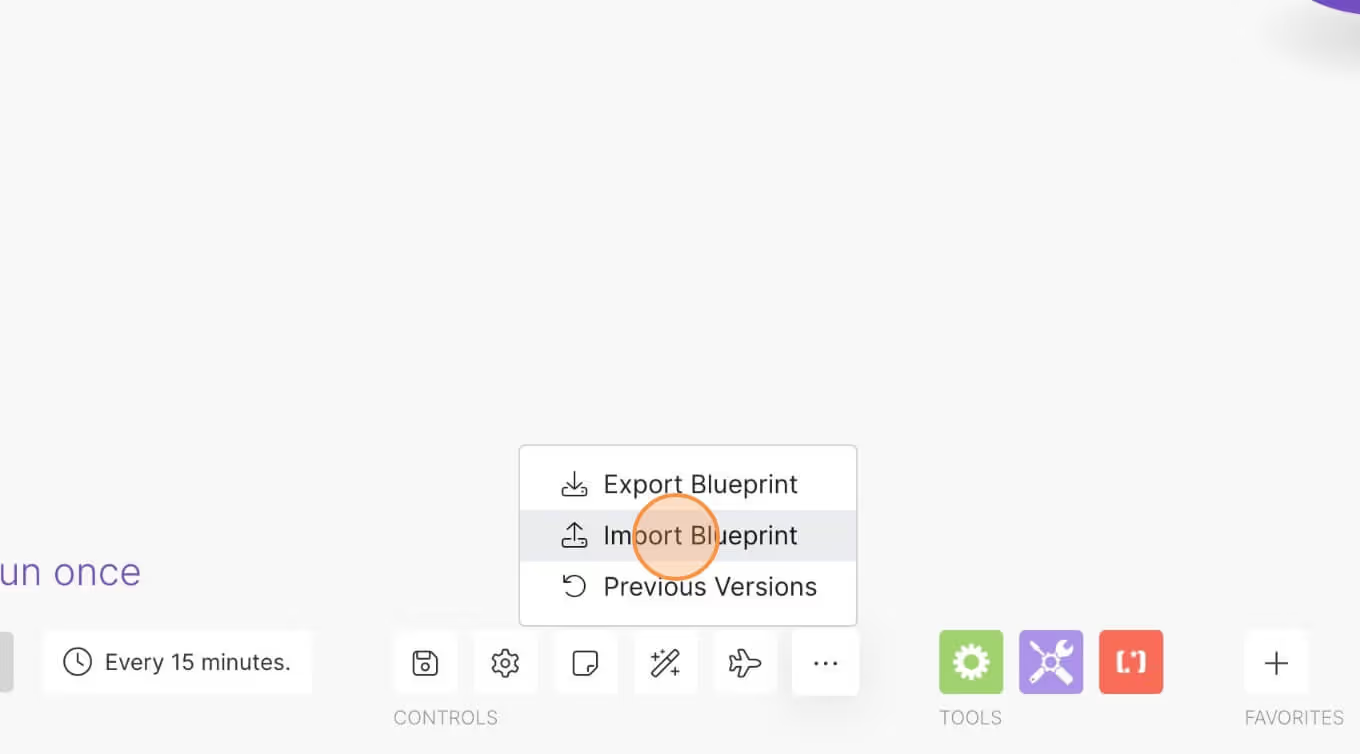
3. Click the small box with 3 dots and then Import Blueprint...
4. Upload your file and voila! You're ready to link your own accounts.

Need help with this MemberScript?

All Memberstack customers can ask for assistance in the 2.0 Slack. Please note that these are not official features and support cannot be guaranteed.

Join the 2.0 Slack
Version notes
Attributes
Description
Attribute
No items found.
Guides / Tutorials
No items found.
Tutorial
What is Memberstack?

Auth & payments for Webflow sites

Add logins, subscriptions, gated content, and more to your Webflow site - easy, and fully customizable.

Learn more